How to create your own mail server using Postfix and Dovecot on Amazon Web Services (AWS)

Log into your Amazon Web Services (AWS) account using the link here: https://us-east-1.console.aws.amazon.com/.
Navigate to Route 53.
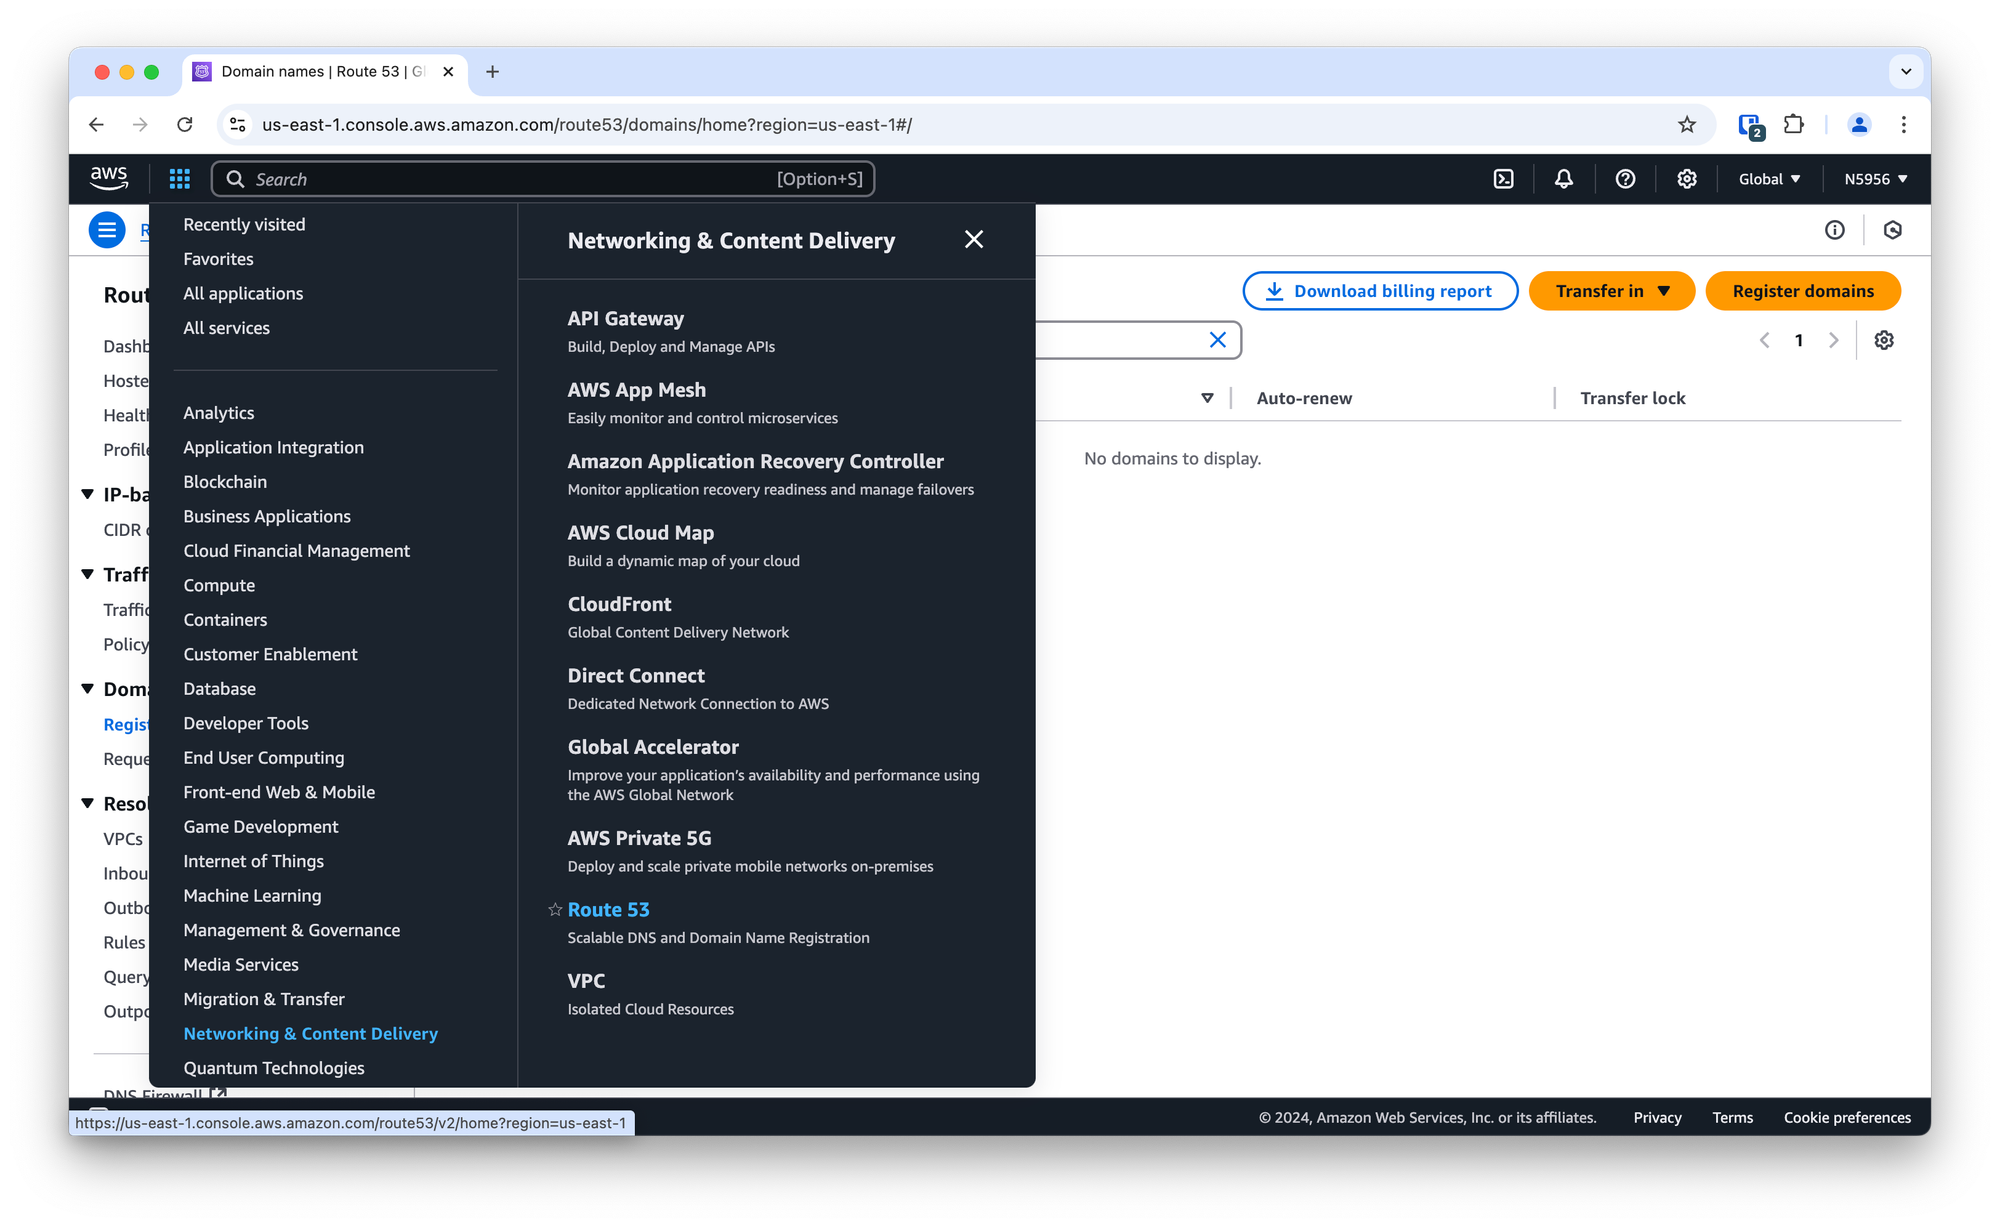
Navigate to Registered domains to transfer in a domain you already own or buy a new domain.
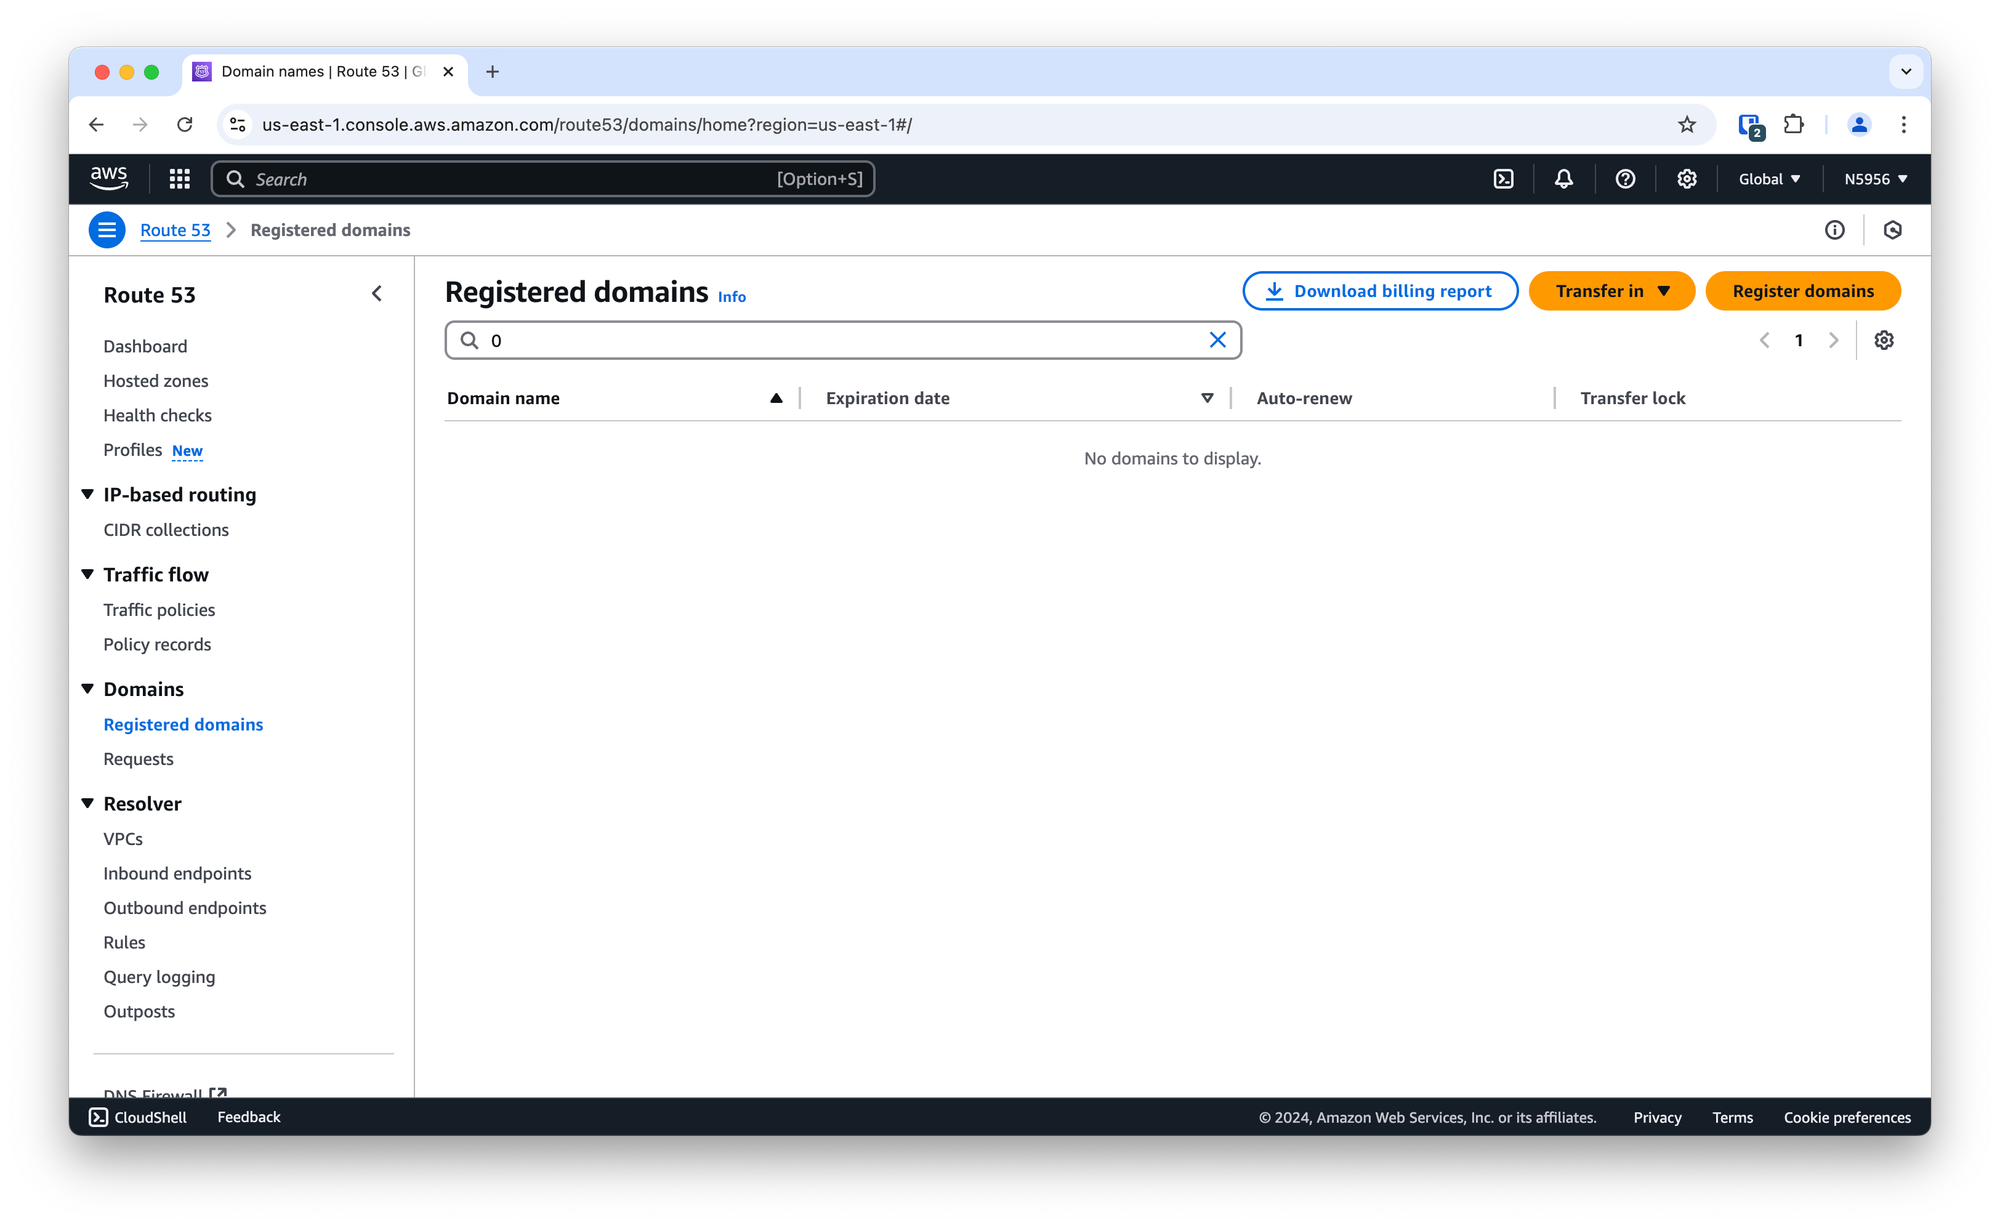
Once you have added your domain in Route 53, navigate to EC2.
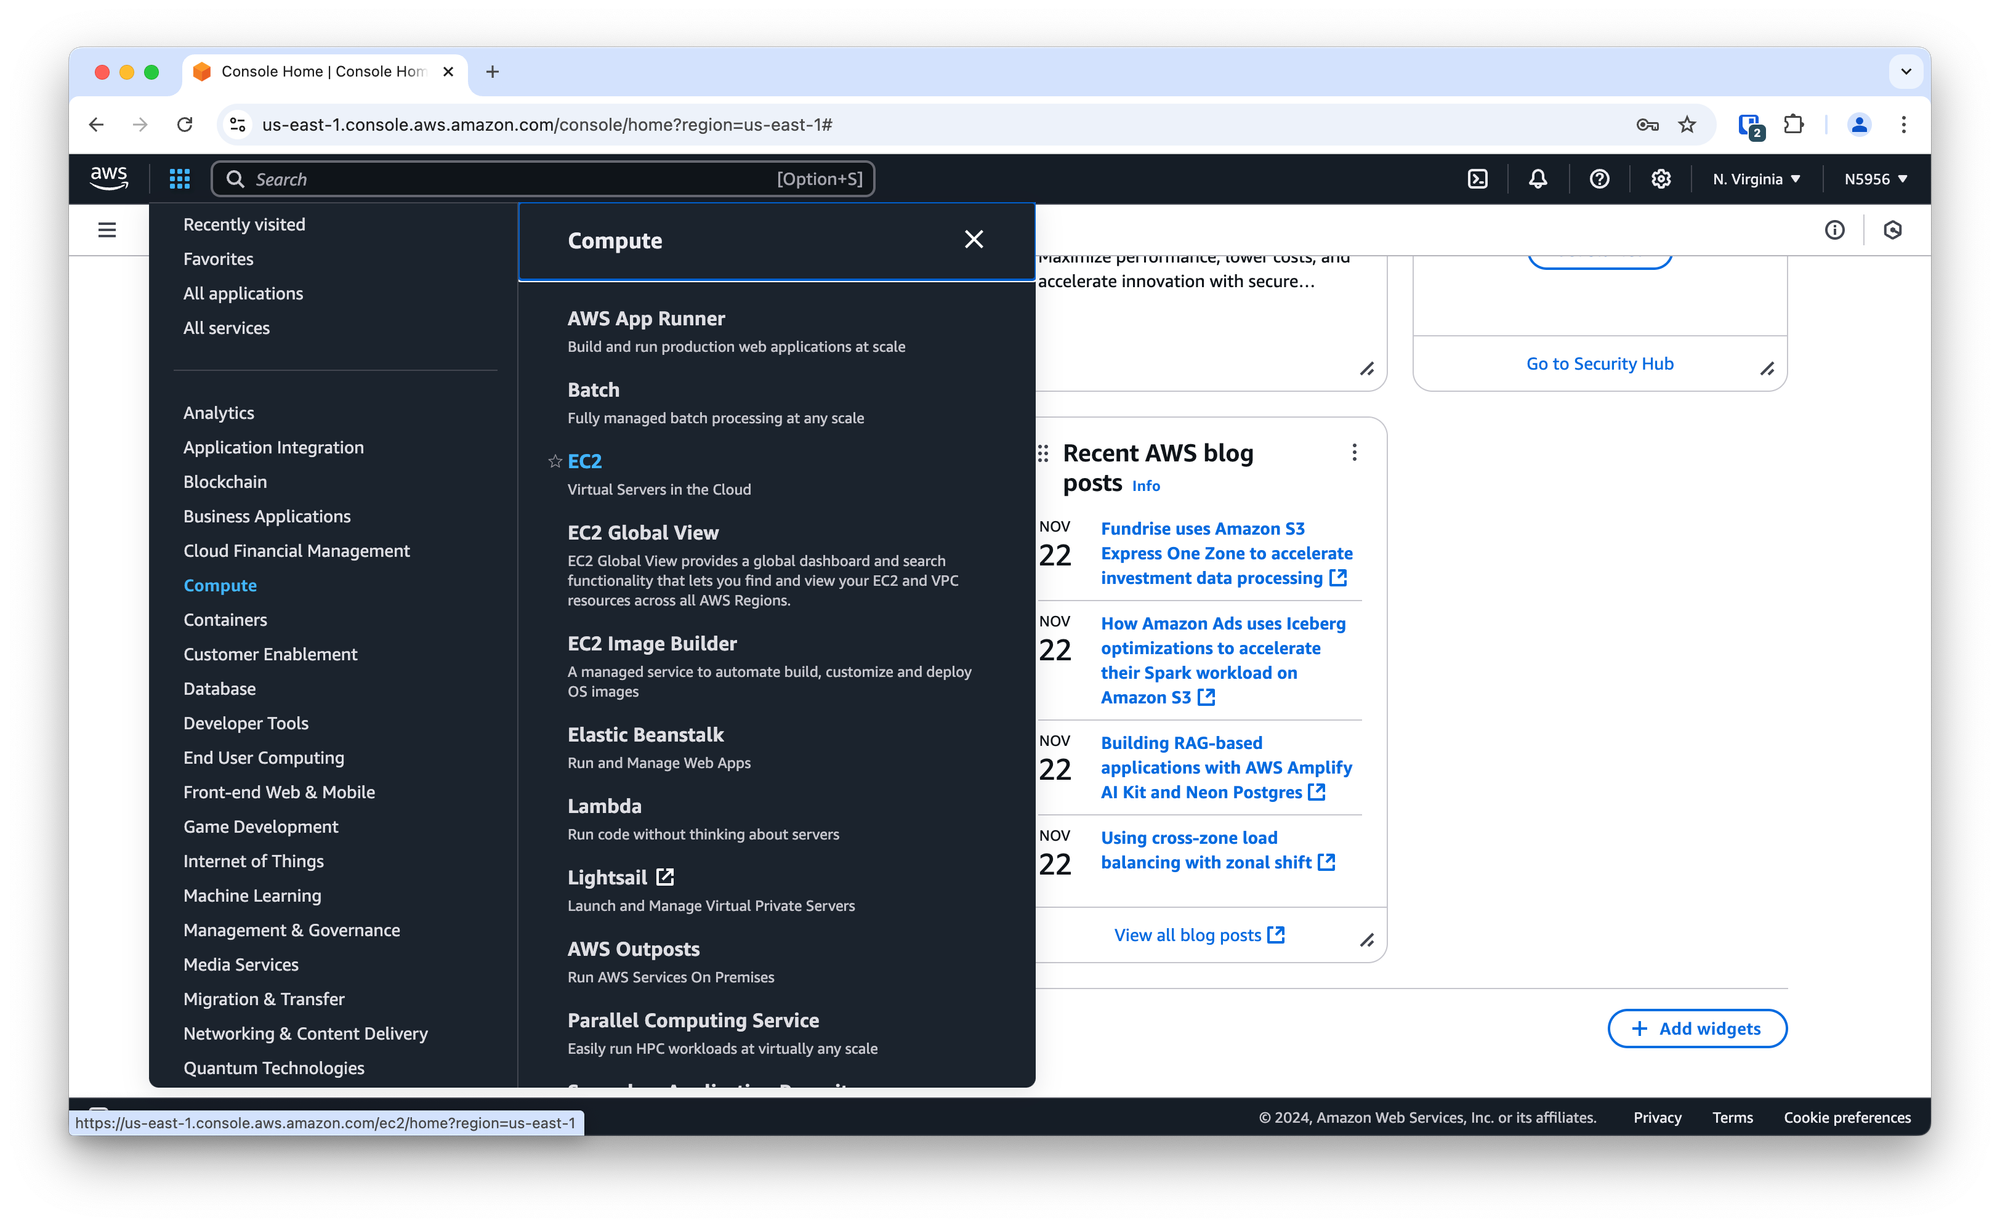
Navigate to Instances and click on Launch instances.
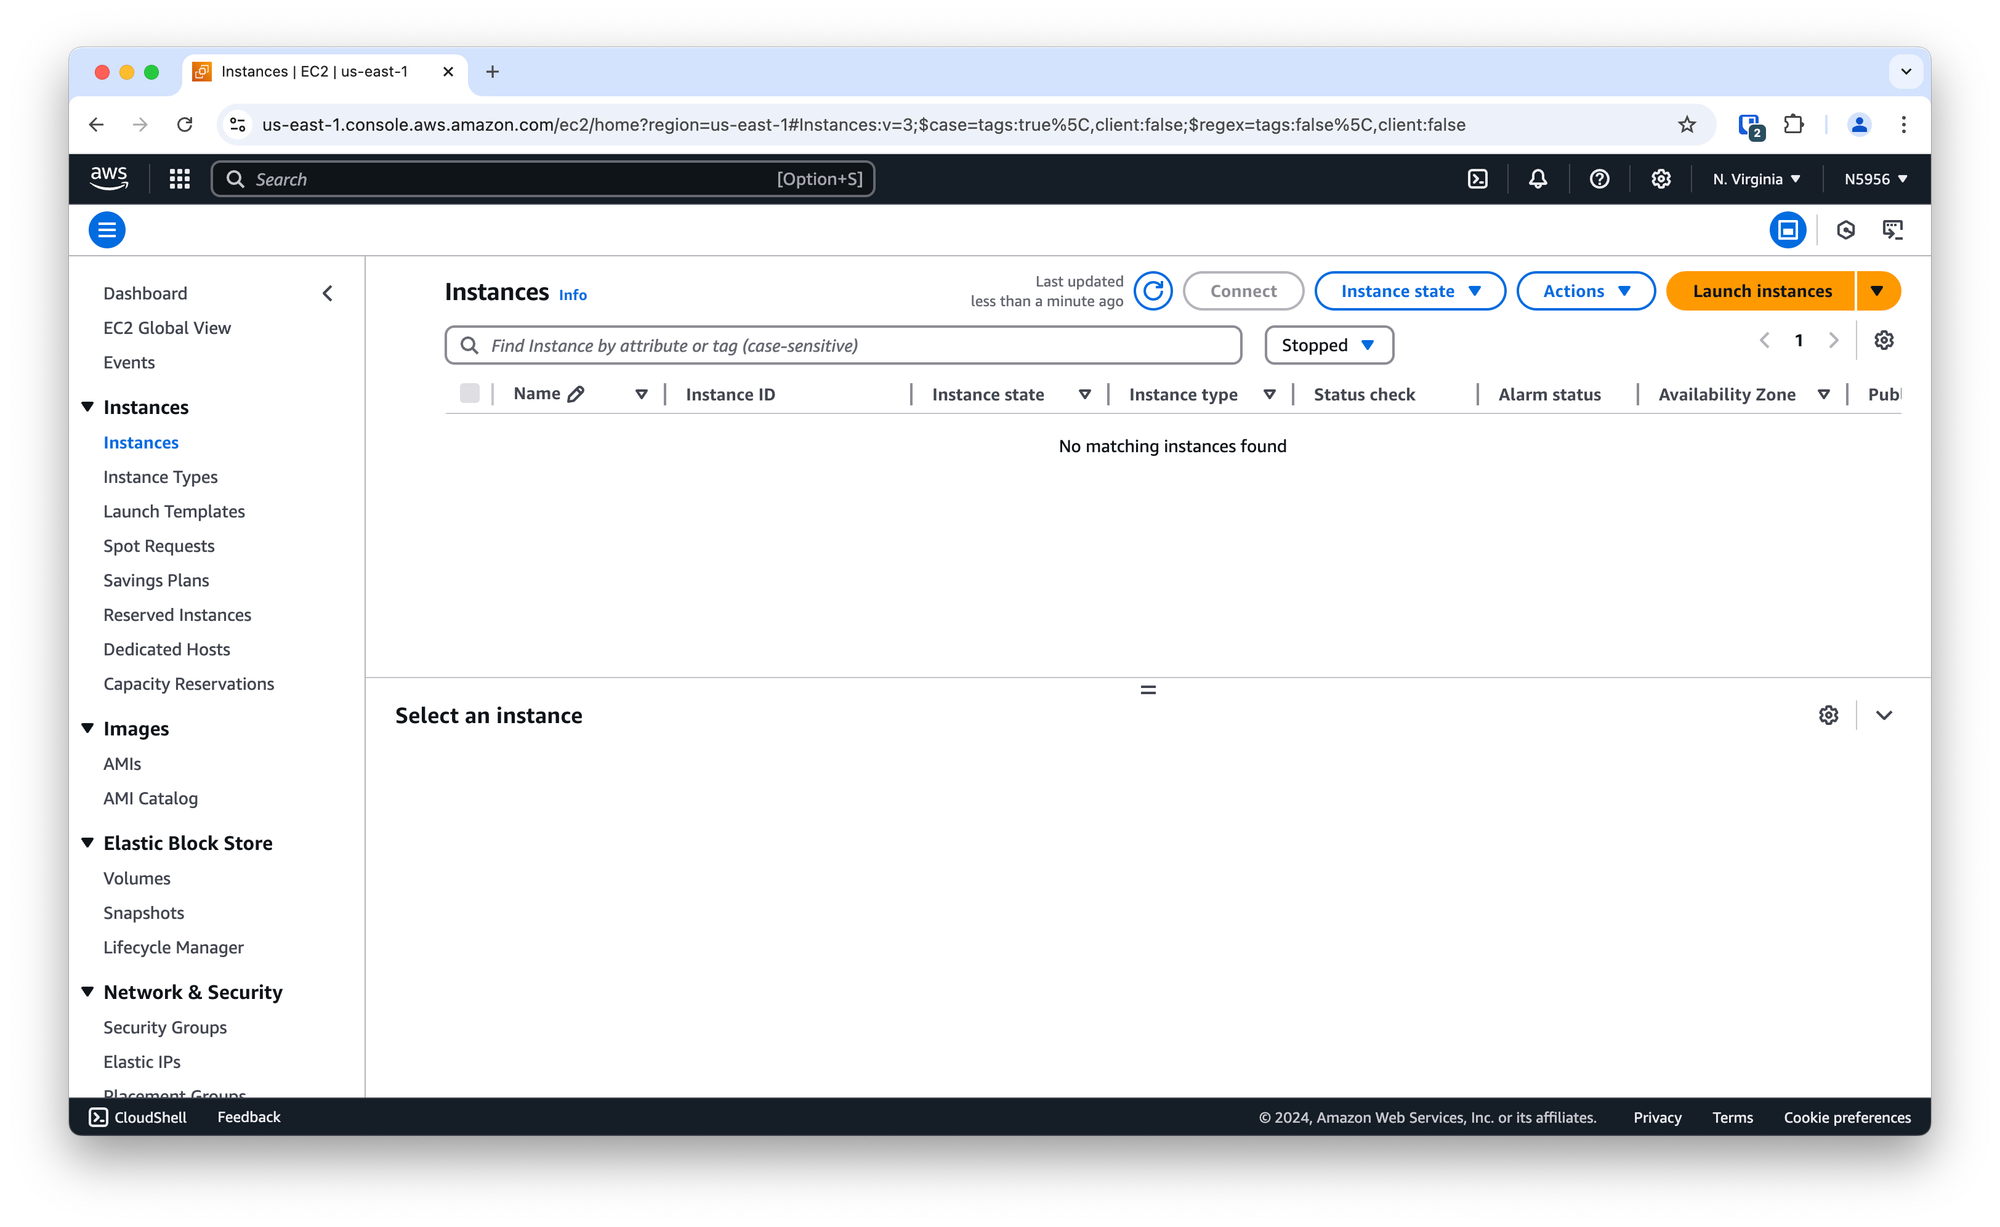
Launch instance with Ubuntu Server 24.04 LTS as the Operating System (OS) and t3.nano as the virtual server type.
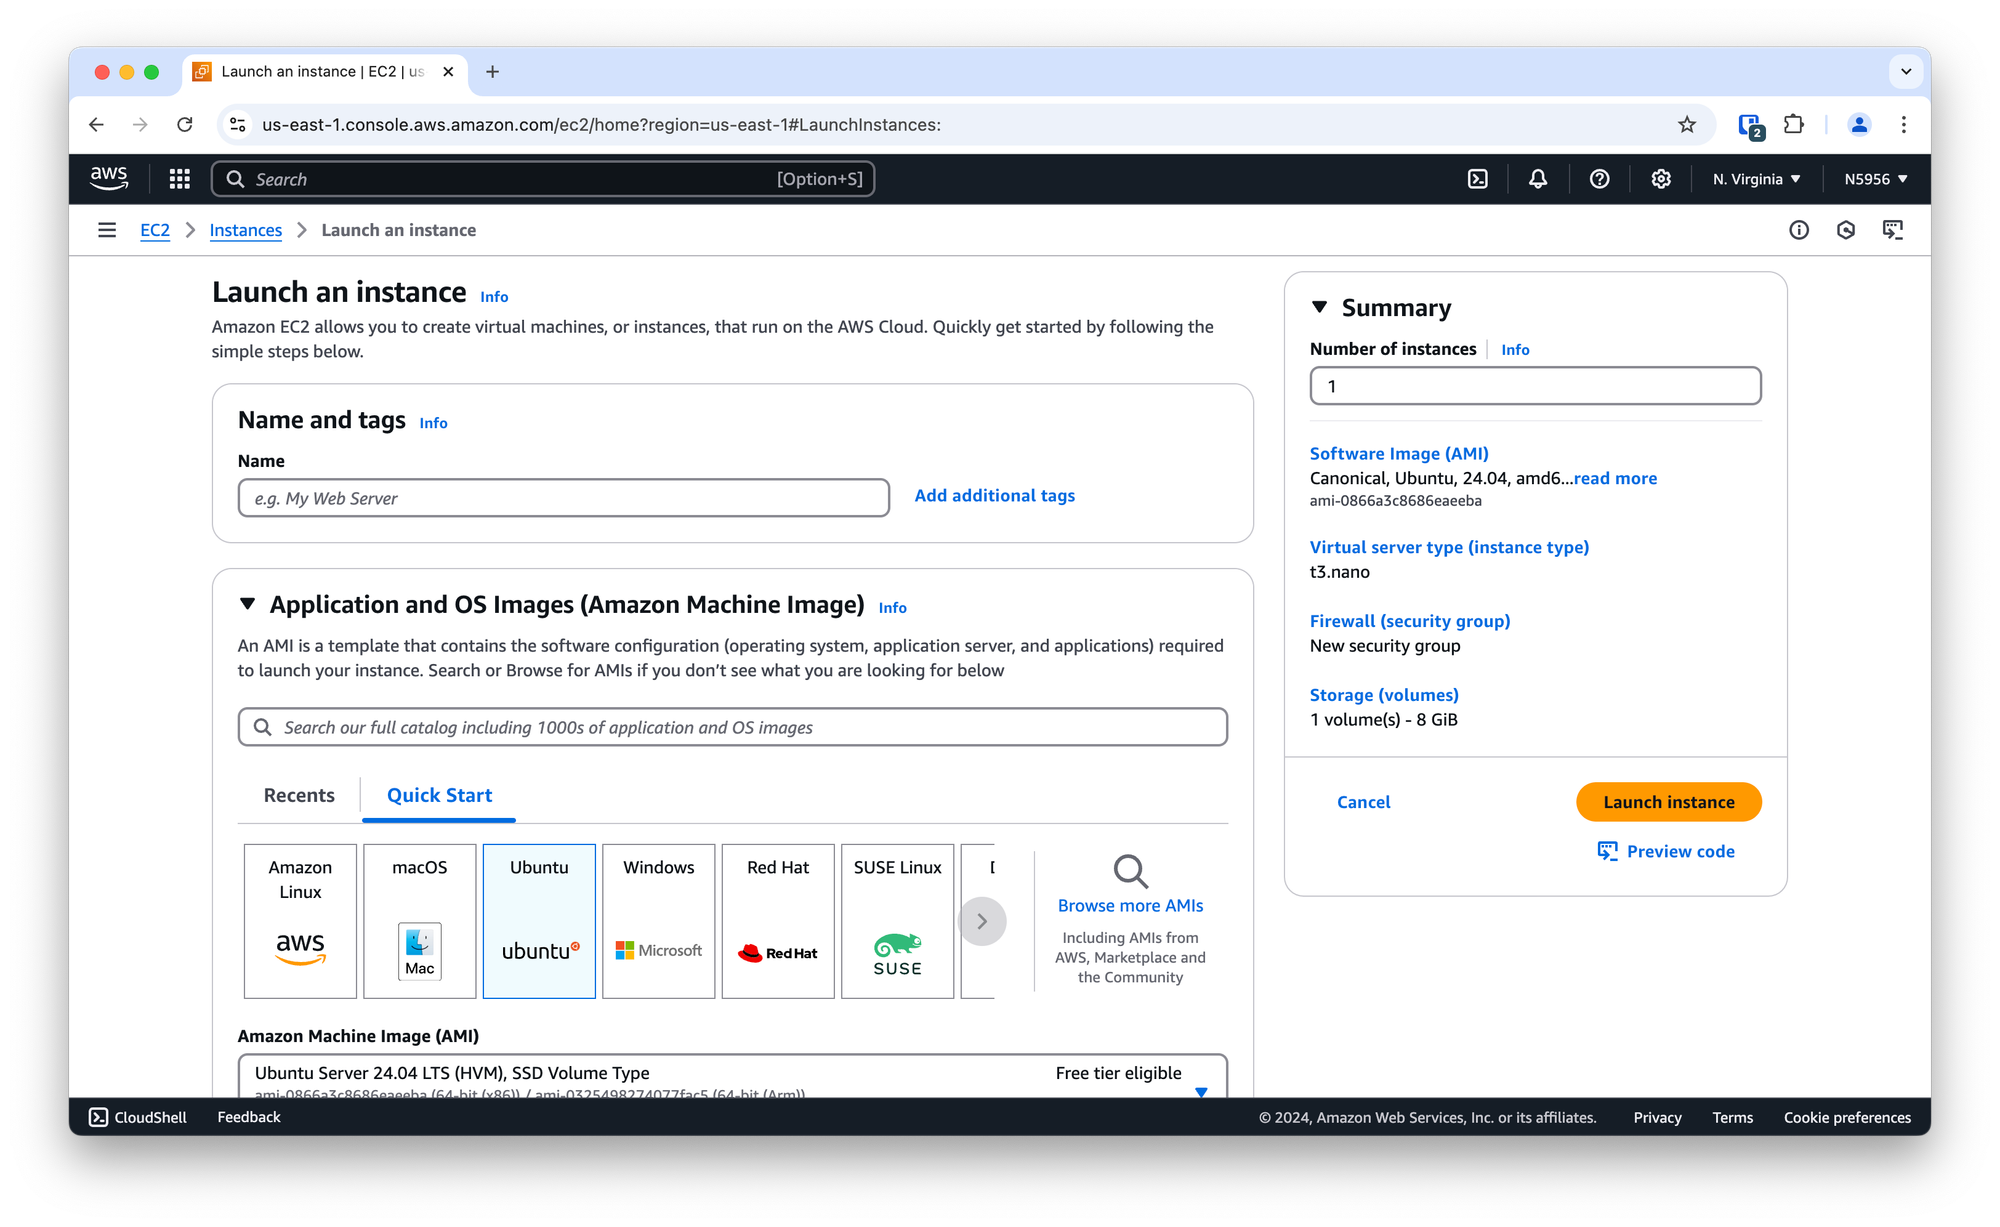
Copy the Public IPv4 address.
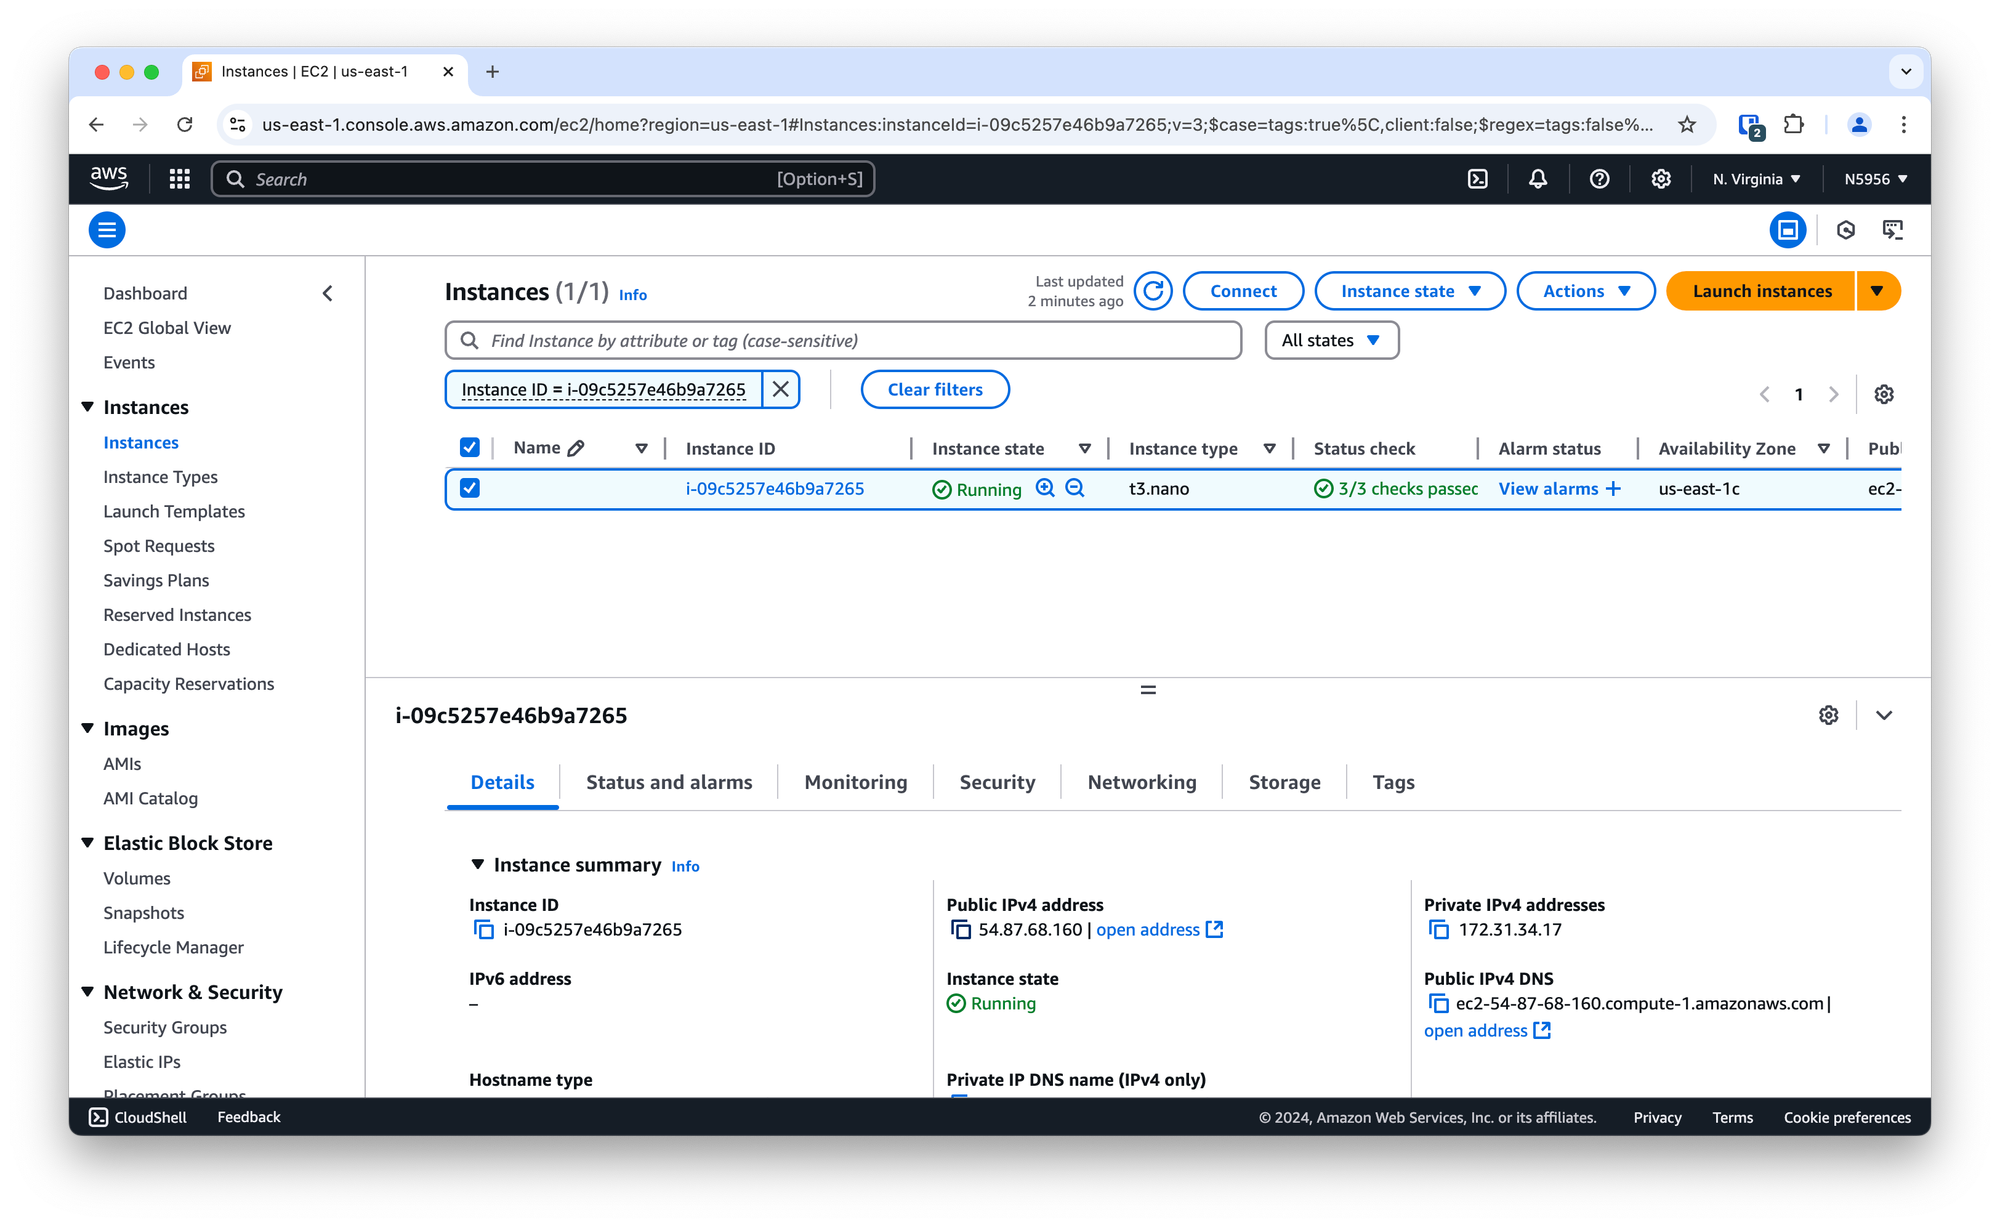
Navigate to Route 53 and click on Create record in the hosted zone for your domain.
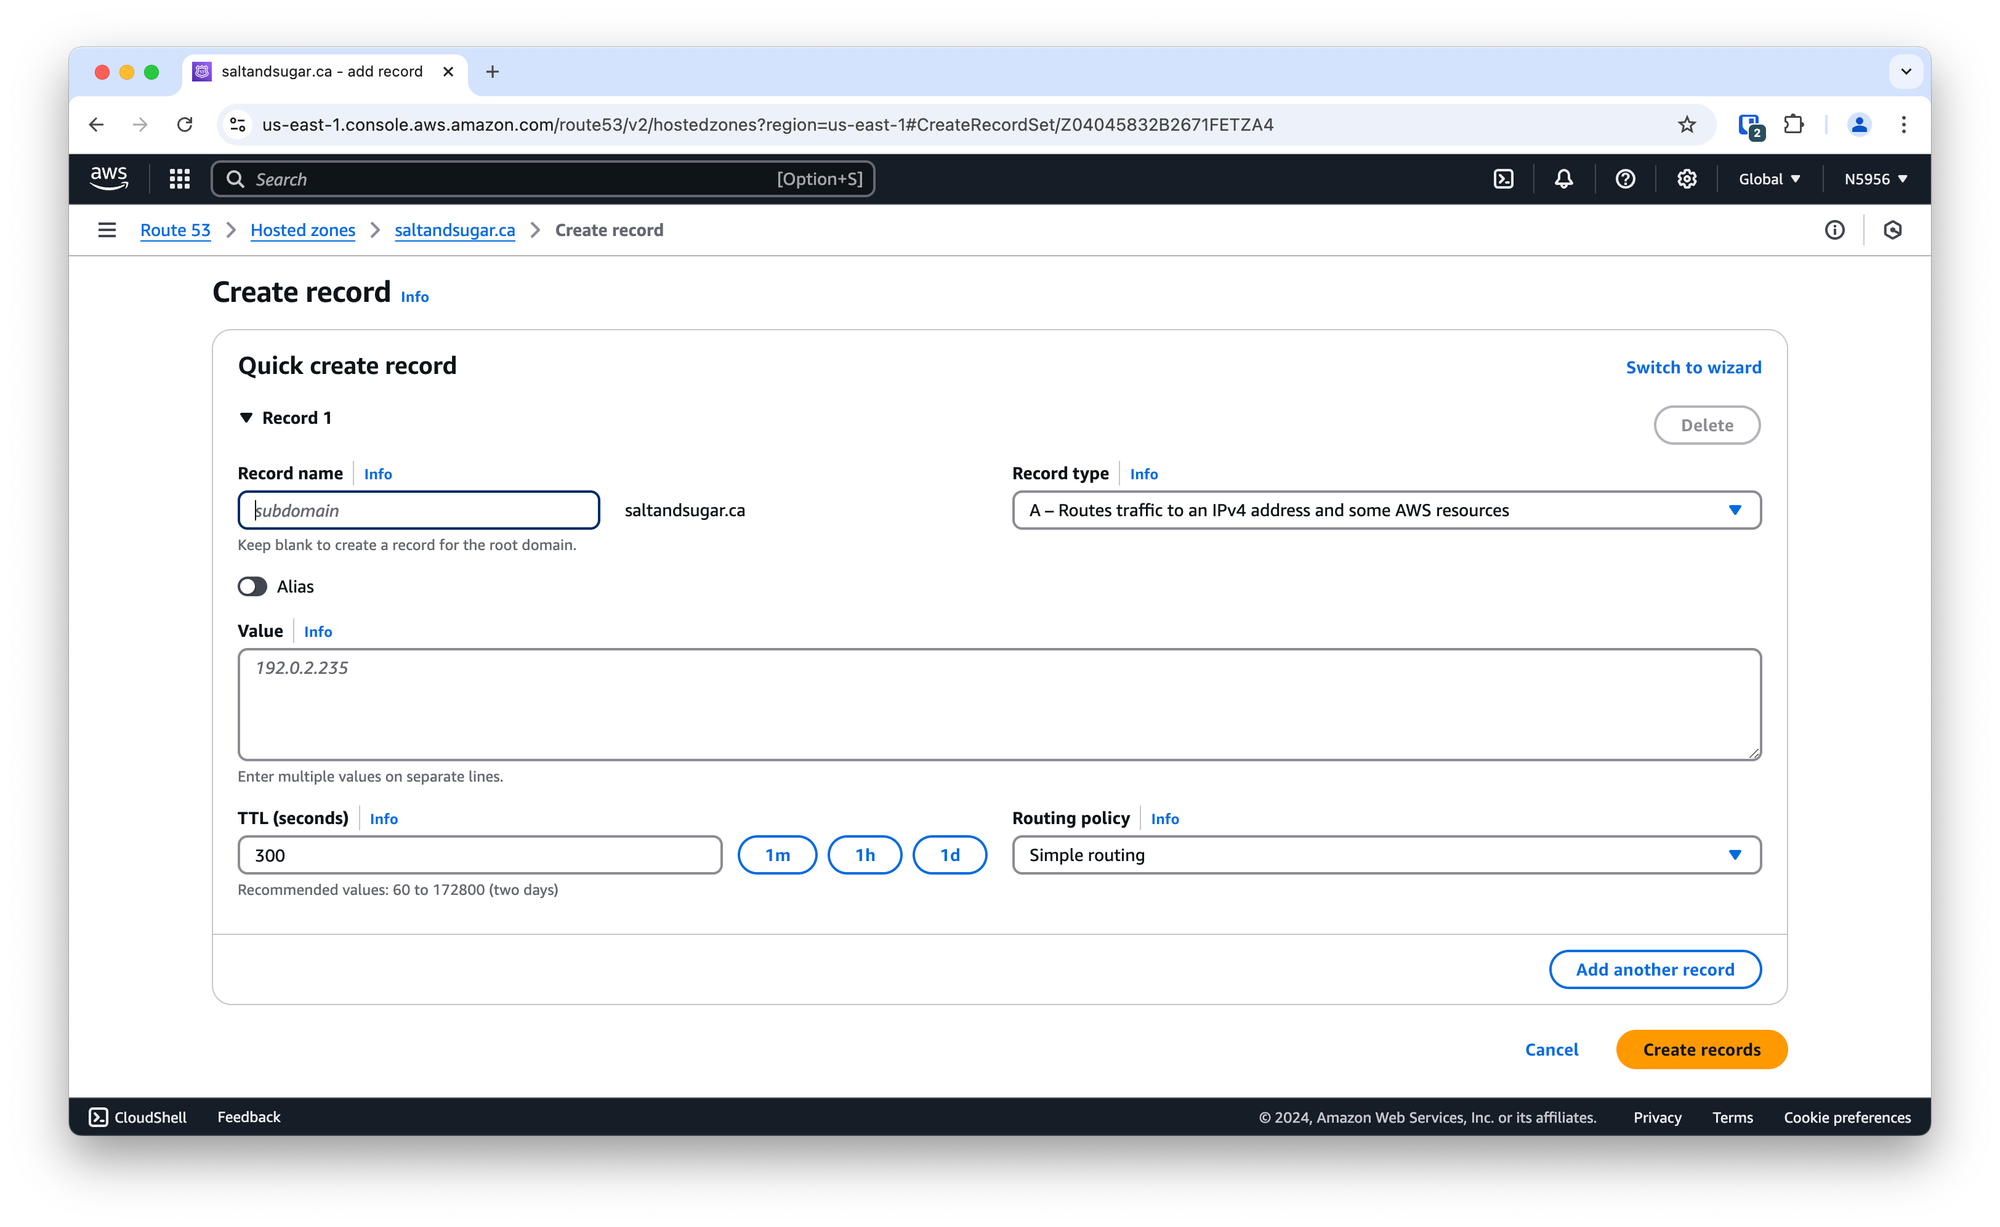
Add the following DNS records. Remember to use your own domain and the Public IPv4 address you copied.
Record name: mail.saltandsugar.ca, Record type: A, Value: 54.87.68.160
Record name: saltandsugar.ca, Record type: MX, Value: mail.saltandsugar.ca
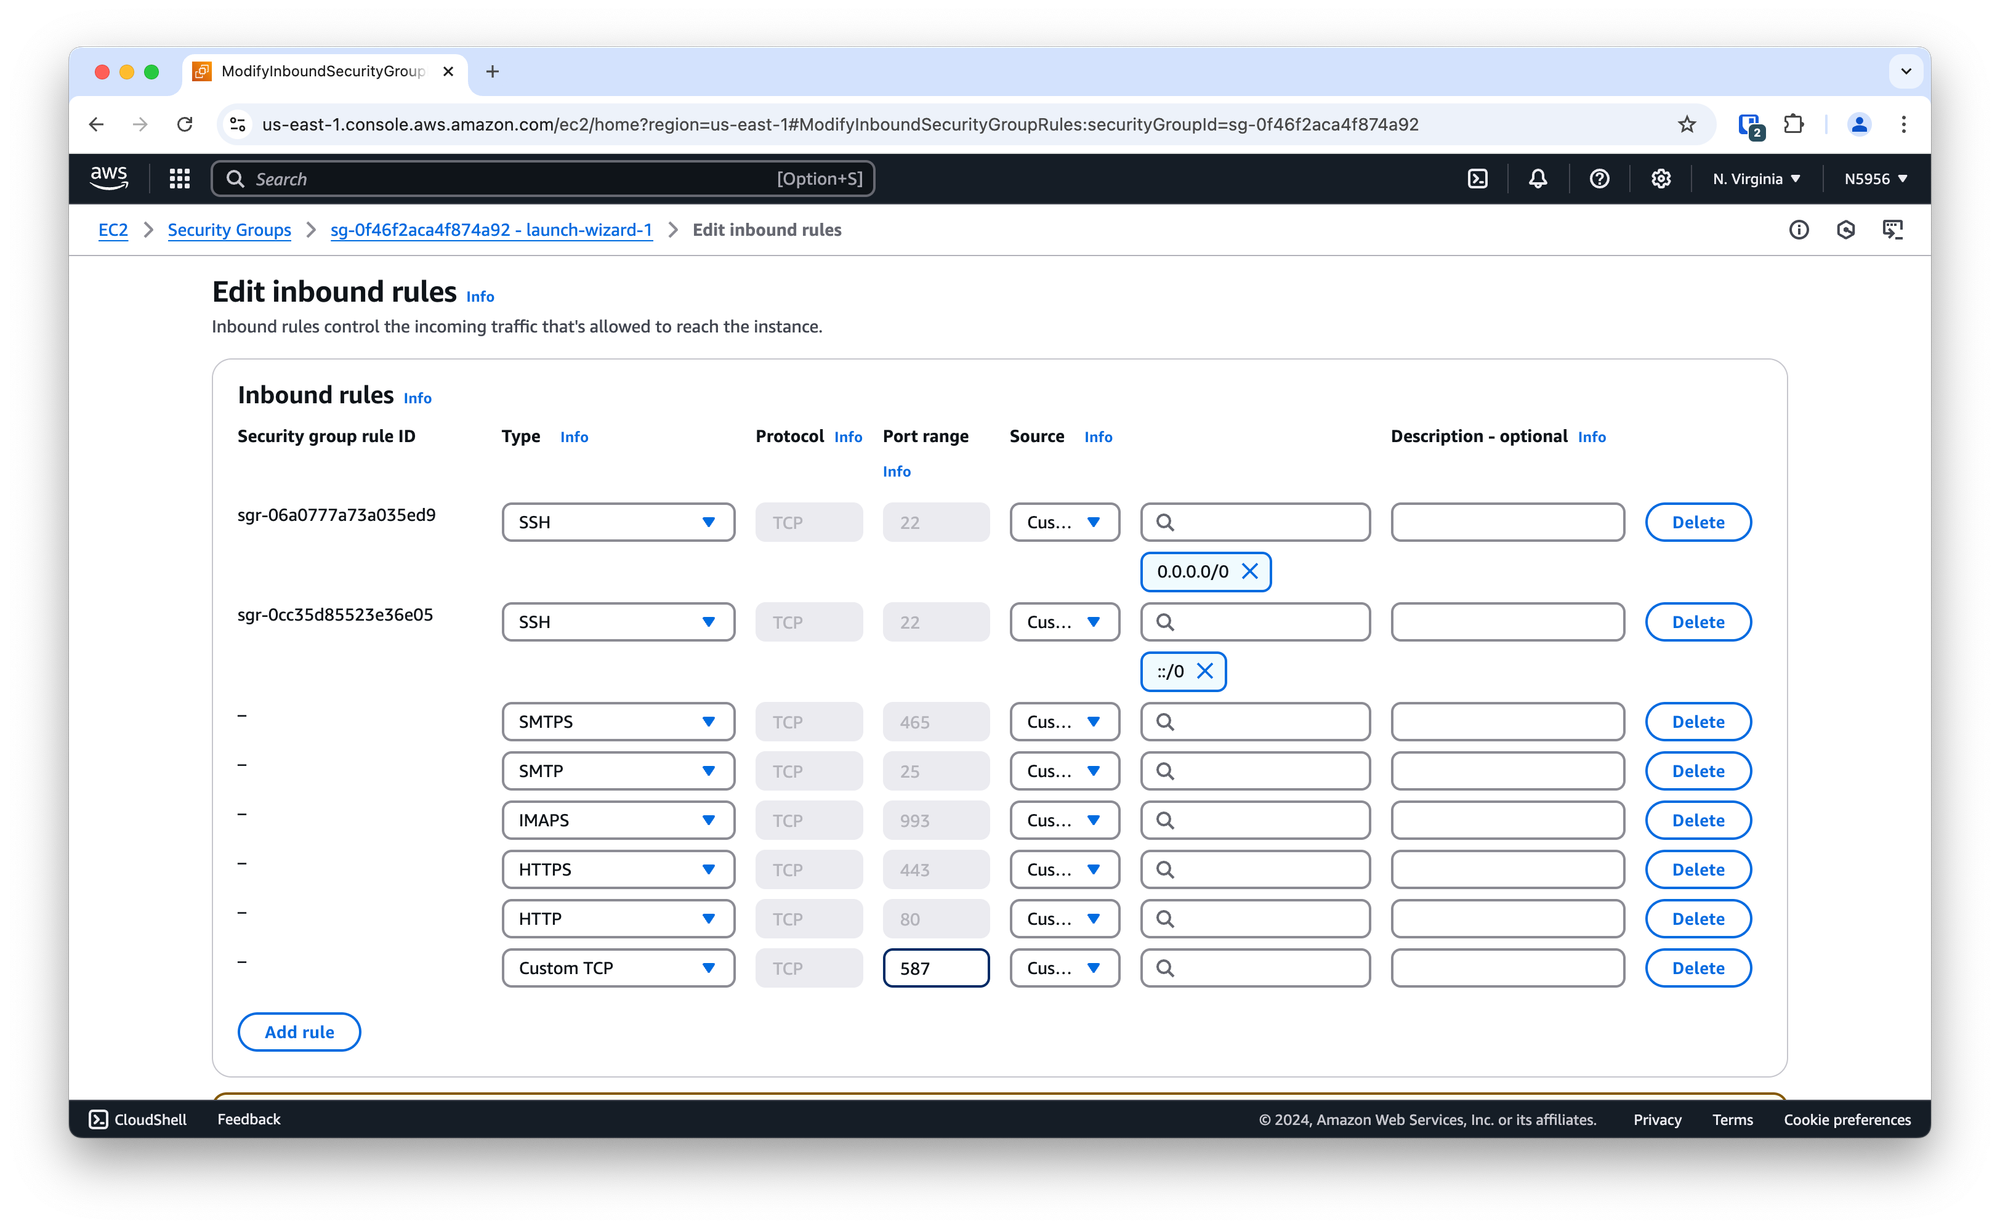
Navigate to EC2 and Edit inbound rules for the Security Group associated with your EC2 instance.
Add the rules shown in the image below. Select Anywhere-IPv4 in the Source column for each rule you add.
Open Terminal on your Mac and connect to the instance by executing the following command. Remember to use your path to the private .pem file and the Public IPv4 address you copied.
ssh -i '/Users/user/Desktop/key.pem' ubuntu@54.87.68.160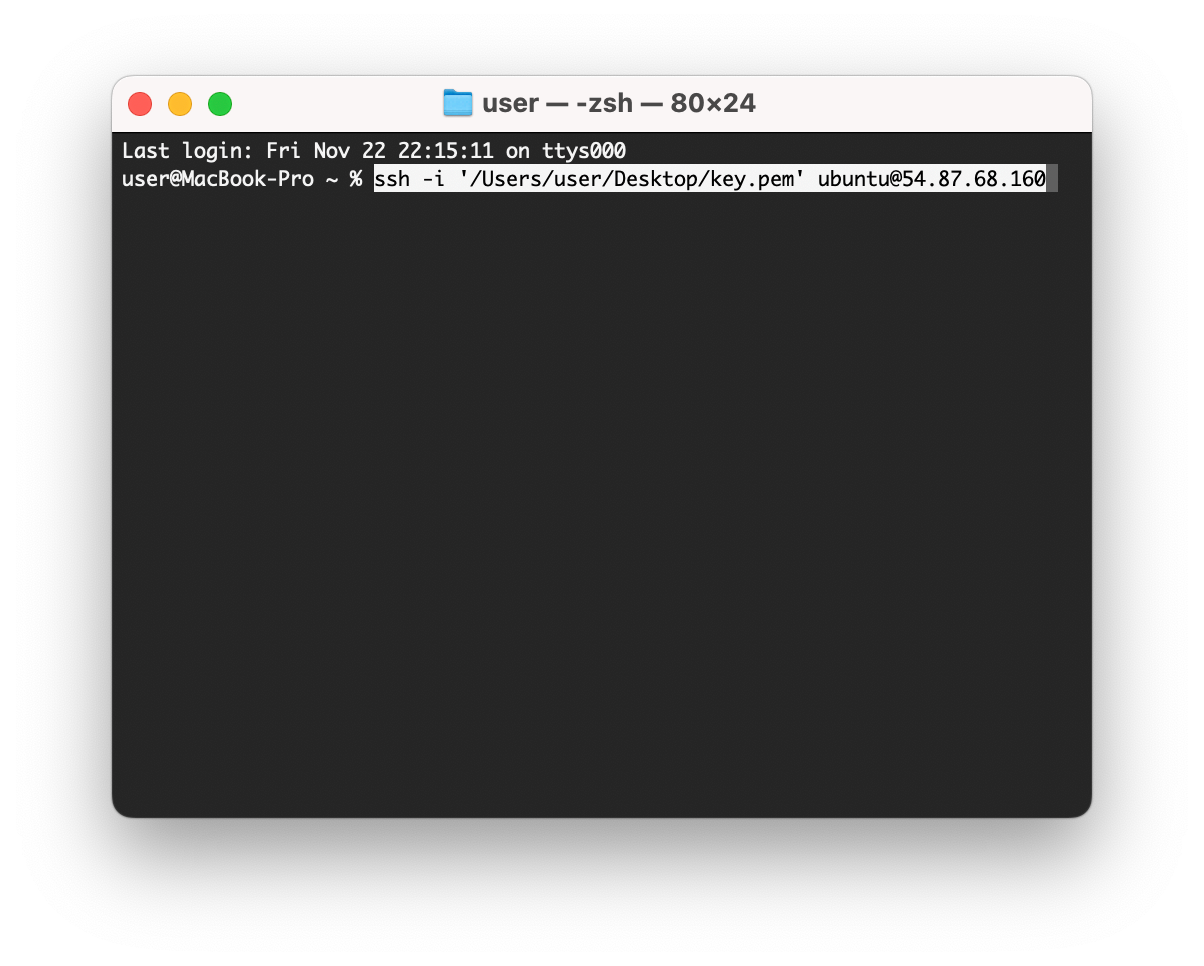
Confirm that you want to connect to the instance by typing yes and pressing the return key. If you get an error with the private .pem file, execute the following command to make the .pem file read-only.
sudo chmod 400 '/Users/user/Desktop/key.pem'Once you are connected to the instance, execute the following commands to update and upgrade.
sudo apt update
sudo apt upgrade
You may want to execute the following command to reboot and reconnect to the instance. Remember to use your path to the private .pem file and the Public IPv4 address you copied.
sudo reboot
ssh -i '/Users/user/Desktop/key.pem' ubuntu@54.87.68.160
Execute the following command to install certbot. Confirm that you want to install postfix by typing y and pressing the return key.
sudo apt install certbot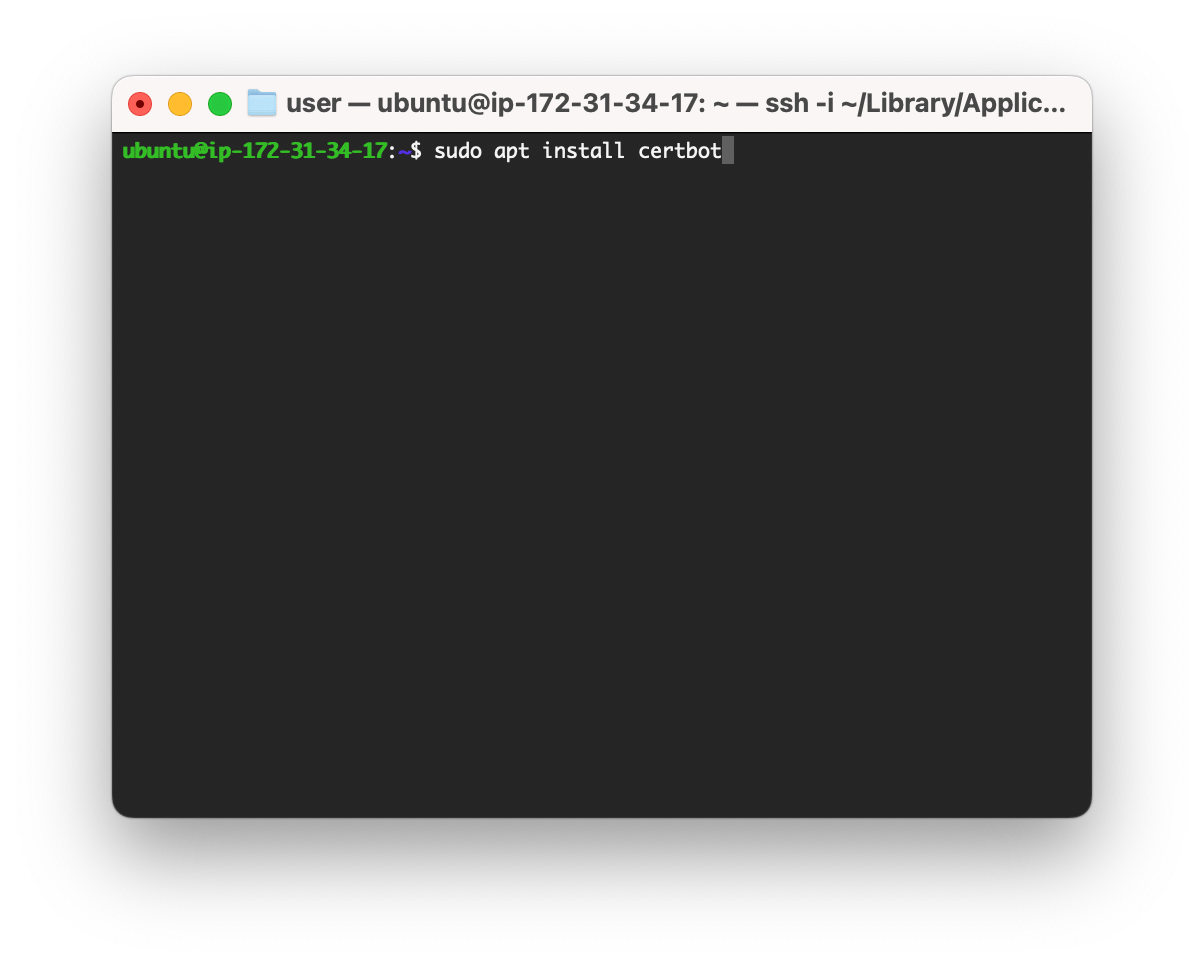
Execute the following command and follow the prompts to obtain an SSL certificate for your mail server from Let's Encrypt. Remember to use your own domain.
sudo certbot certonly --standalone -d mail.saltandsugar.caThe output should show the location where the certificate-related files have been placed.
Certificate is saved at: /etc/letsencrypt/live/mail.saltandsugar.ca/fullchain.pem
Key is saved at:         /etc/letsencrypt/live/mail.saltandsugar.ca/privkey.pem
Once the certificate-related files are created, execute the following command to install Postfix. Confirm that you want to install postfix by typing y and pressing the return key.
sudo apt install postfix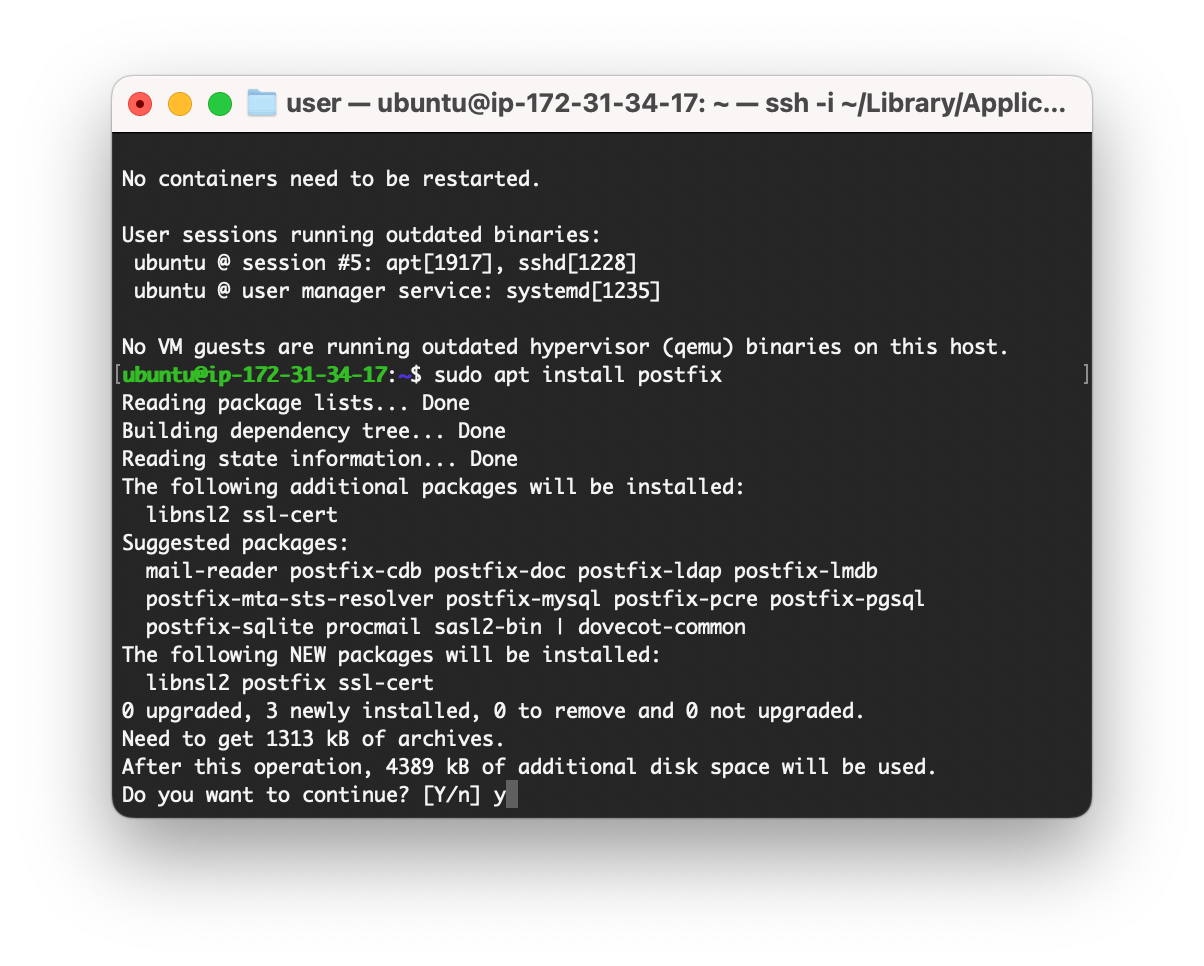
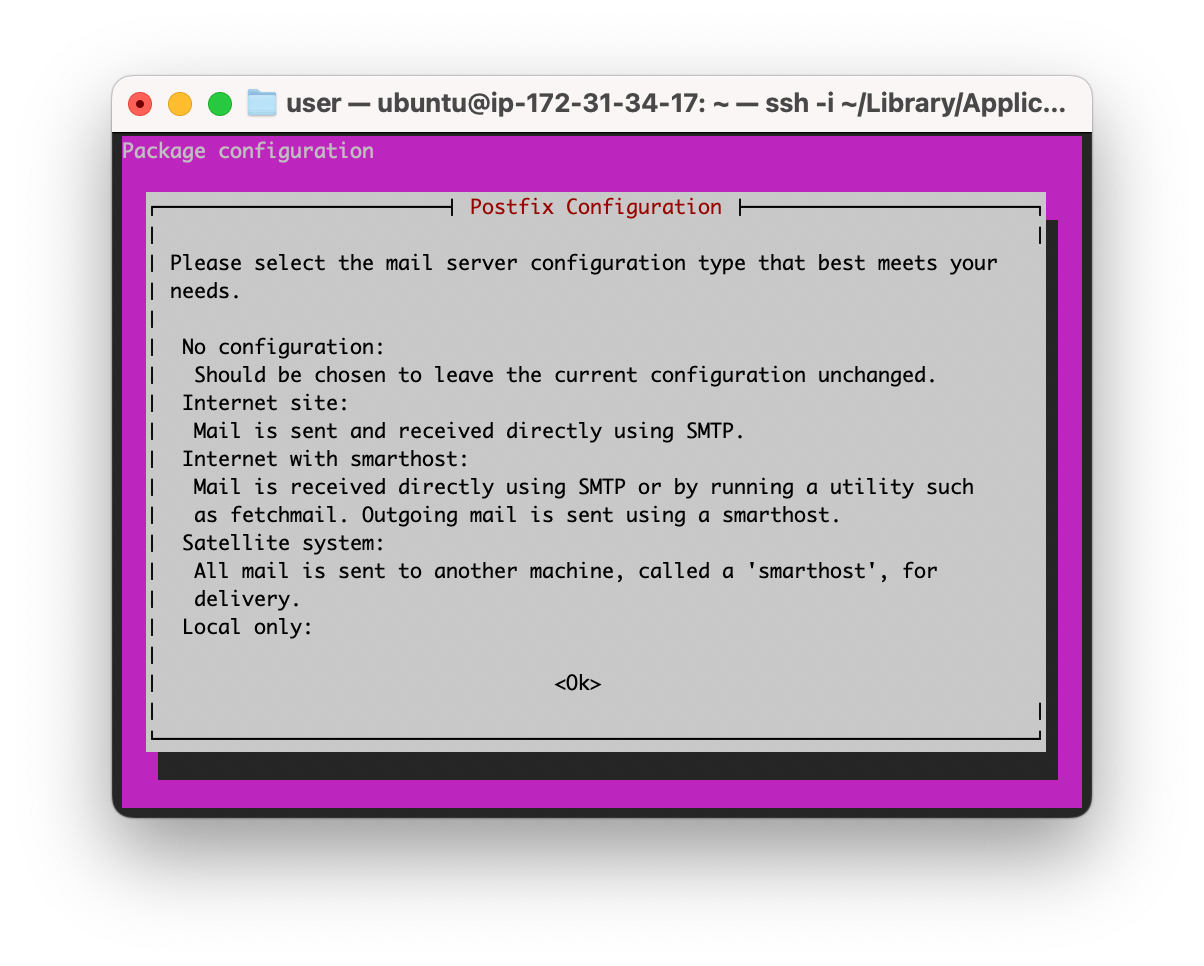
Follow the prompts on the screen. Select Internet site. You can skip the other prompts as the settings will be changed later by modifying the configuration files directly.
Execute the following command to edit the master.cf configuration file using the nano editor.
sudo nano /etc/postfix/master.cfEdit the master.cf configuration file to look the same as below image. The first smtp line and submission line shown should be uncommented - that is to not be preceded by the number sign (#).
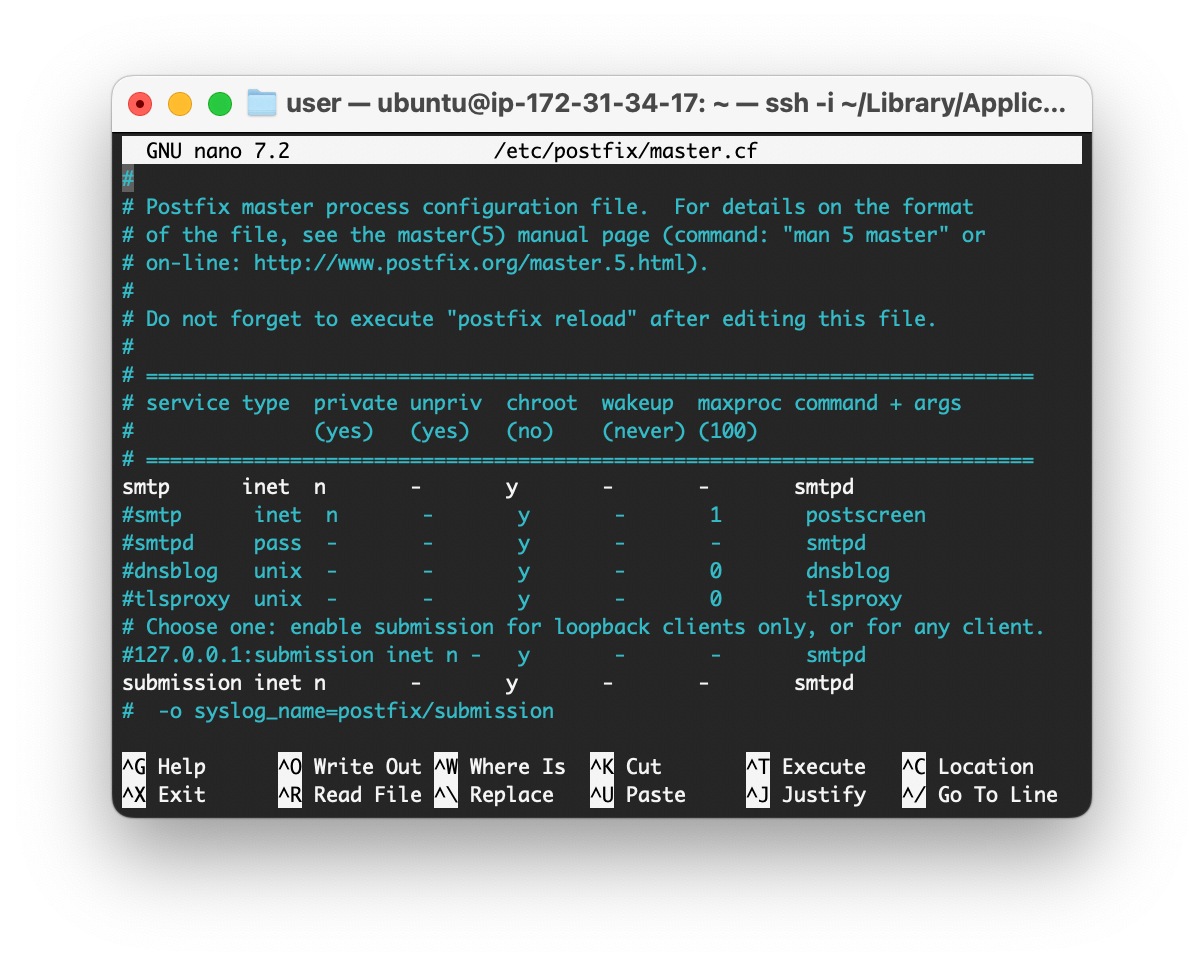
Press the control key and the x key on your keyboard at the same time to save and exit. When prompted to confirm if you want to save the changes, type y and press the return key.
Execute the following command to edit the main.cf configuration file using the nano editor.
sudo nano /etc/postfix/main.cfUpdate the main.cf configuration file as shown below.
smtpd_banner = $myhostname ESMTP $mail_name (Ubuntu)
biff = no

append_dot_mydomain = no

readme_directory = no

compatibility_level = 3.6

smtpd_tls_cert_file = /etc/letsencrypt/live/mail.saltandsugar.ca/fullchain.pem
smtpd_tls_key_file = /etc/letsencrypt/live/mail.saltandsugar.ca/privkey.pem
smtpd_tls_security_level=encrypt

smtp_tls_CApath=/etc/ssl/certs
smtp_tls_security_level=encrypt
smtp_tls_session_cache_database = btree:${data_directory}/smtp_scache

smtpd_relay_restrictions = permit_mynetworks permit_sasl_authenticated defer_unauth_destination
myhostname = mail.saltandsugar.ca
alias_maps = hash:/etc/aliases
alias_database = hash:/etc/aliases
myorigin = /etc/mailname
mydestination = saltandsugar.ca, ip-172-31-34-17.ec2.internal, ip-172-31-34-17.ec2.internal, localhost.ec2.internal, localhost
relayhost =
mynetworks = 127.0.0.0/8 [::ffff:127.0.0.0]/104 [::1]/128
mailbox_size_limit = 0
recipient_delimiter = +
inet_interfaces = all
inet_protocols = all
home_mailbox = Maildir/
mydomain = saltandsugar.ca
smtpd_sasl_type = dovecot
smtpd_sasl_path = private/auth
smtpd_sasl_security_options = noanonymous
broken_sasl_auth_clients = yes
smtpd_sasl_auth_enable = yes
smtpd_recipient_restrictions = permit_sasl_authenticated, permit_mynetworks, reject_unauth_destination, reject_unknown_client_hostname
smtp_tls_note_starttls_offer = yes
smtpd_tls_loglevel = 1
smtpd_tls_received_header = yes
virtual_alias_maps = hash:/etc/postfix/virtual
smtpd_helo_required = yes
disable_vrfy_command = yes
smtpd_tls_mandatory_ciphers = high
smtpd_tls_mandatory_exclude_ciphers = aNULL
smtpd_tls_mandatory_protocols = >=TLSv1.2
smtp_tls_mandatory_ciphers = high
smtp_tls_mandatory_exclude_ciphers = aNULL
smtp_tls_mandatory_protocols = >=TLSv1.2
tls_preempt_cipherlist = yes
Press the control key and the x key on your keyboard at the same time to save and exit. When prompted to confirm if you want to save the changes, type y and press the return key.
Execute the following command to edit the virtual file using the nano editor to map the new user to the new email address.
sudo nano /etc/postfix/virtualUpdate the file as shown below. Remember to use your desired email address and the new user that you created.
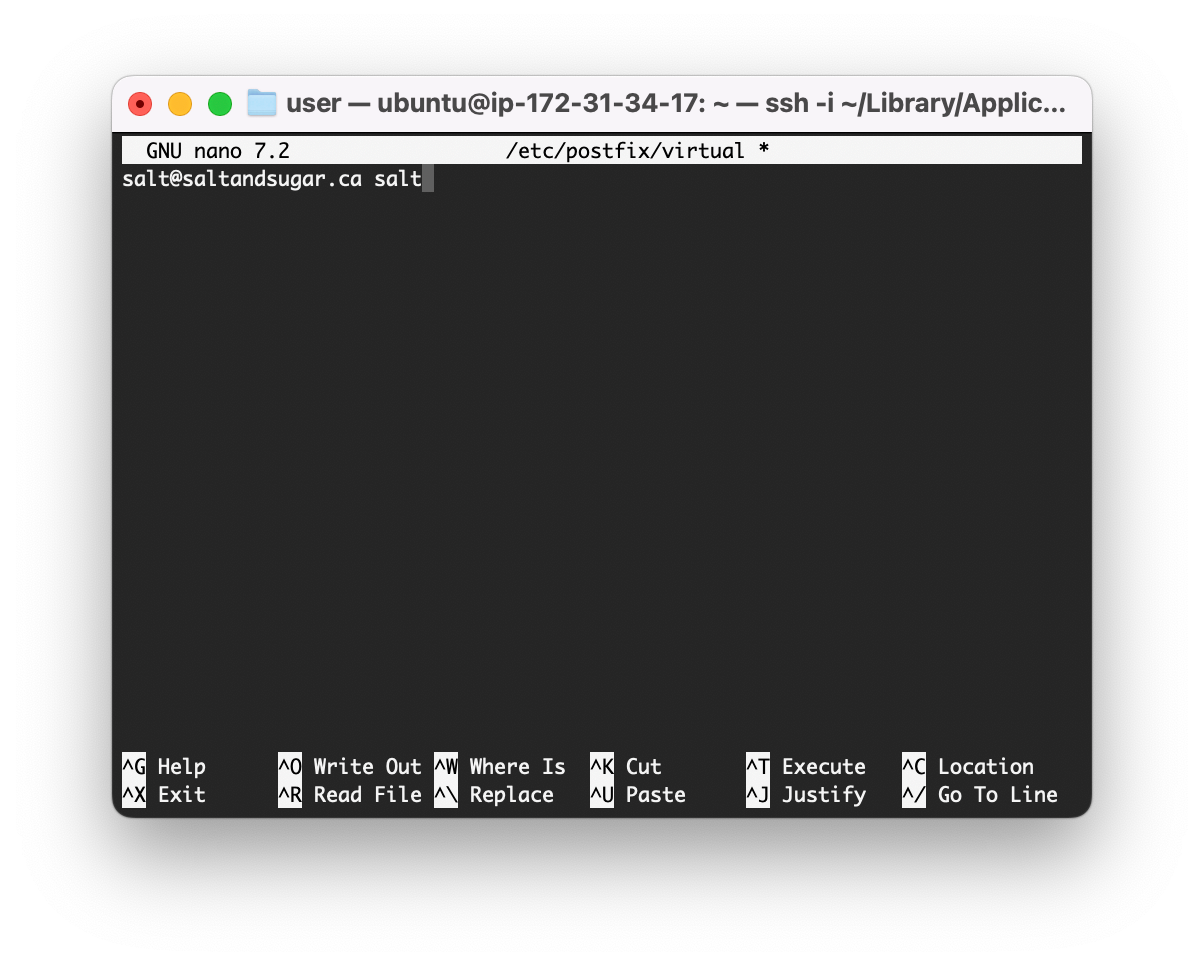
Press the control key and the x key on your keyboard at the same time to save and exit. When prompted to confirm if you want to save the changes, type y and press the return key.
Execute the following command to create one or more Postfix lookup tables.
sudo postmap /etc/postfix/virtualExecute the following command to restart the Postfix session.
sudo systemctl restart postfixExecute the following command to install Dovecot.
sudo apt install dovecot-common dovecot-imapd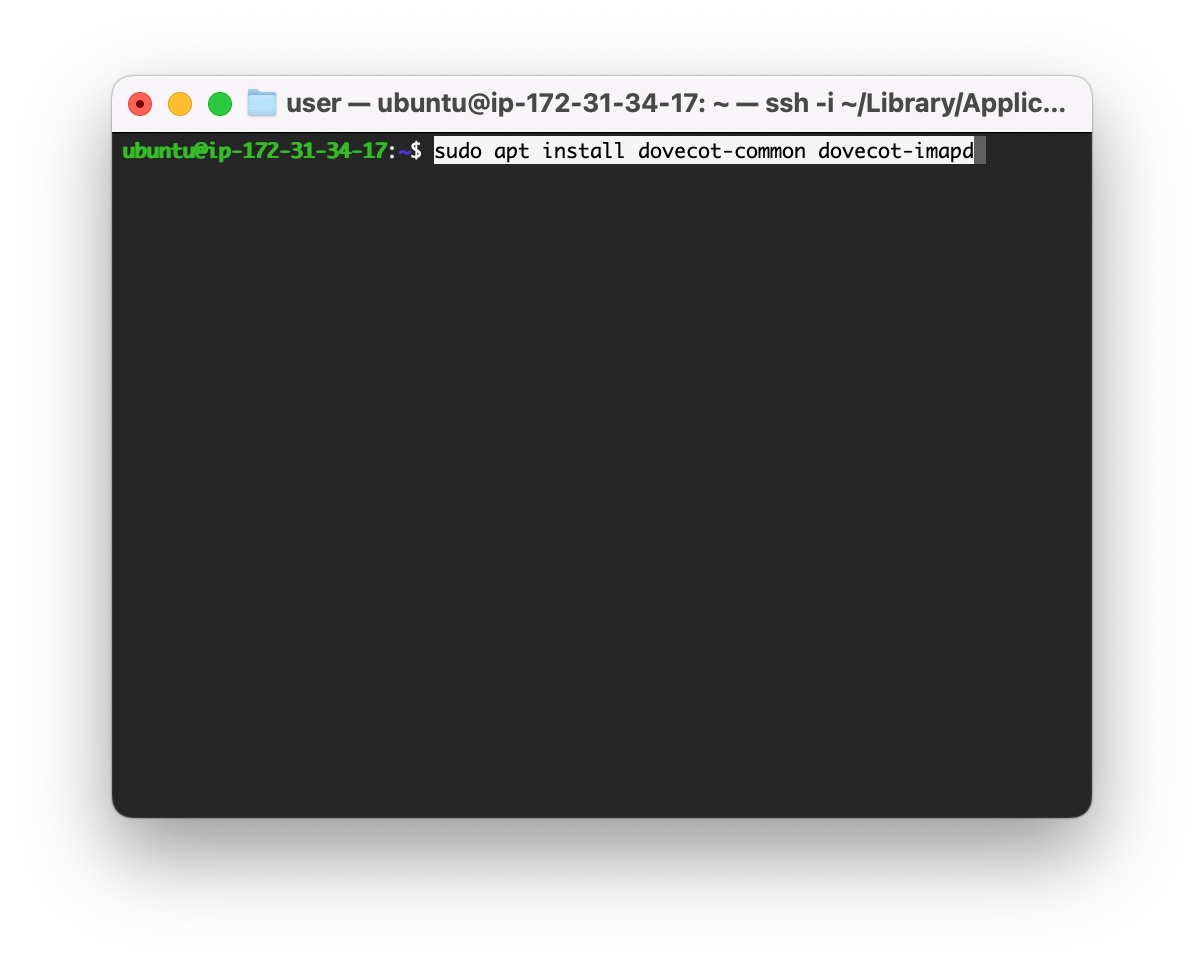
Execute the following commands to create the skeleton mail directory (Maildir) structure and copy the structure for the new user, salt, in my example.
sudo maildirmake.dovecot /etc/skel/Maildir
sudo maildirmake.dovecot /etc/skel/Maildir/.Drafts
sudo maildirmake.dovecot /etc/skel/Maildir/.Sent
sudo maildirmake.dovecot /etc/skel/Maildir/.Trash
sudo maildirmake.dovecot /etc/skel/Maildir/.Templates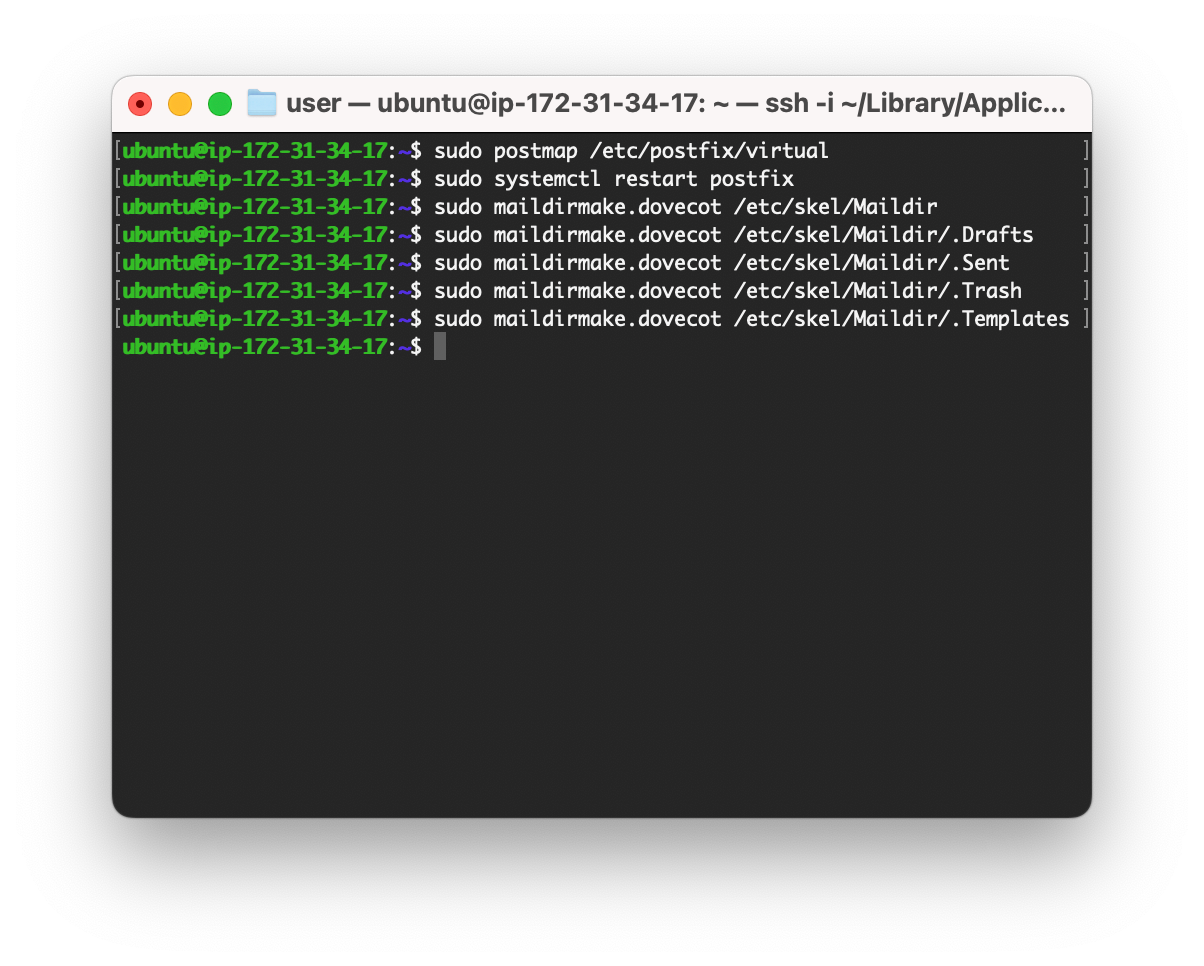
Execute the following command to update the bash.bashrc and mail.sh files.
echo 'export MAIL=~/Maildir' | sudo tee -a /etc/bash.bashrc | sudo tee -a /etc/profile.d/mail.shExecute the following commands to add a user, salt, in my example and add the user to the mail group.
sudo adduser salt
sudo adduser salt mail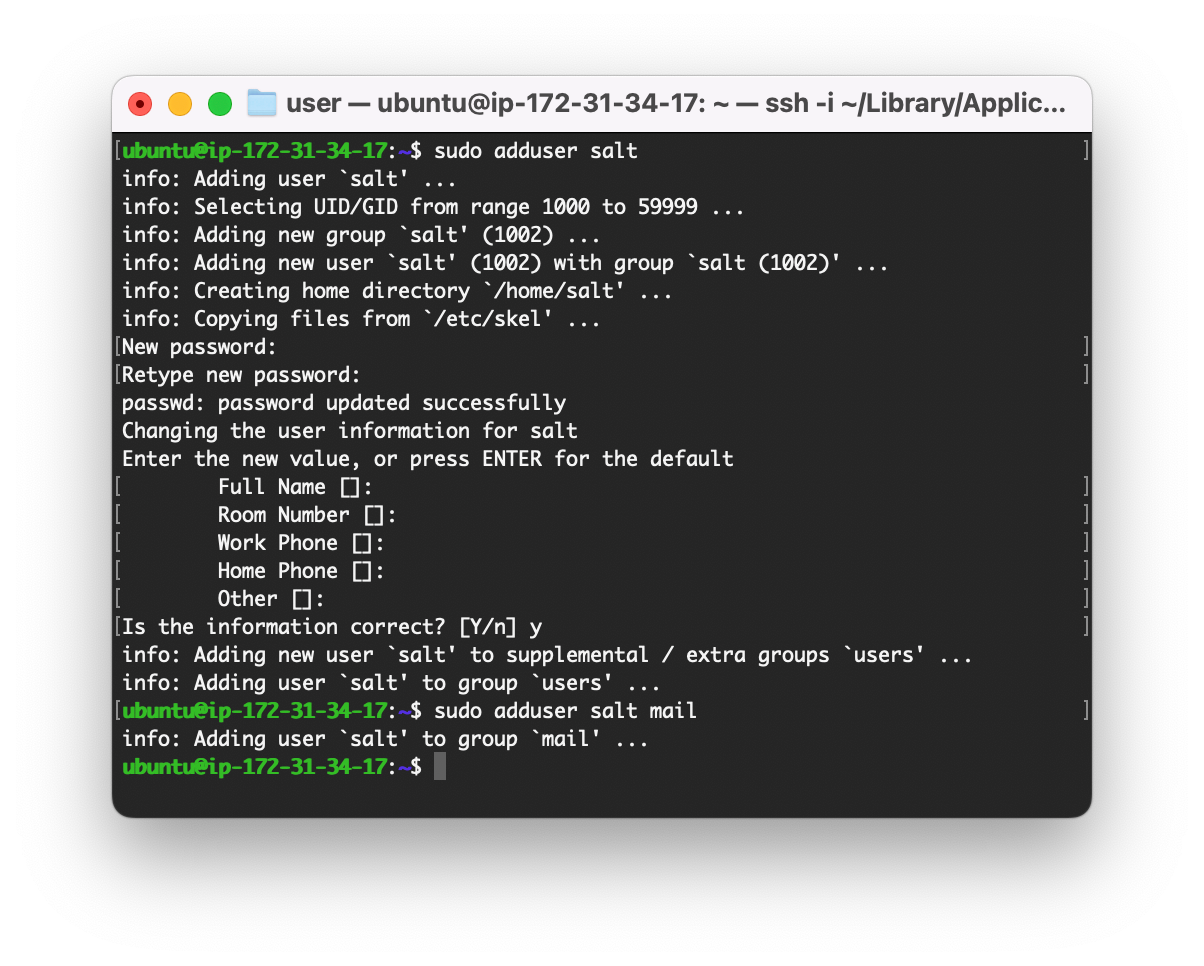
Execute the following commands to edit the listed dovecot configuration files using the nano editor one at a time. Remember to use your ssl_cert and ssl_key paths.
sudo nano /etc/dovecot/conf.d/10-auth.conf
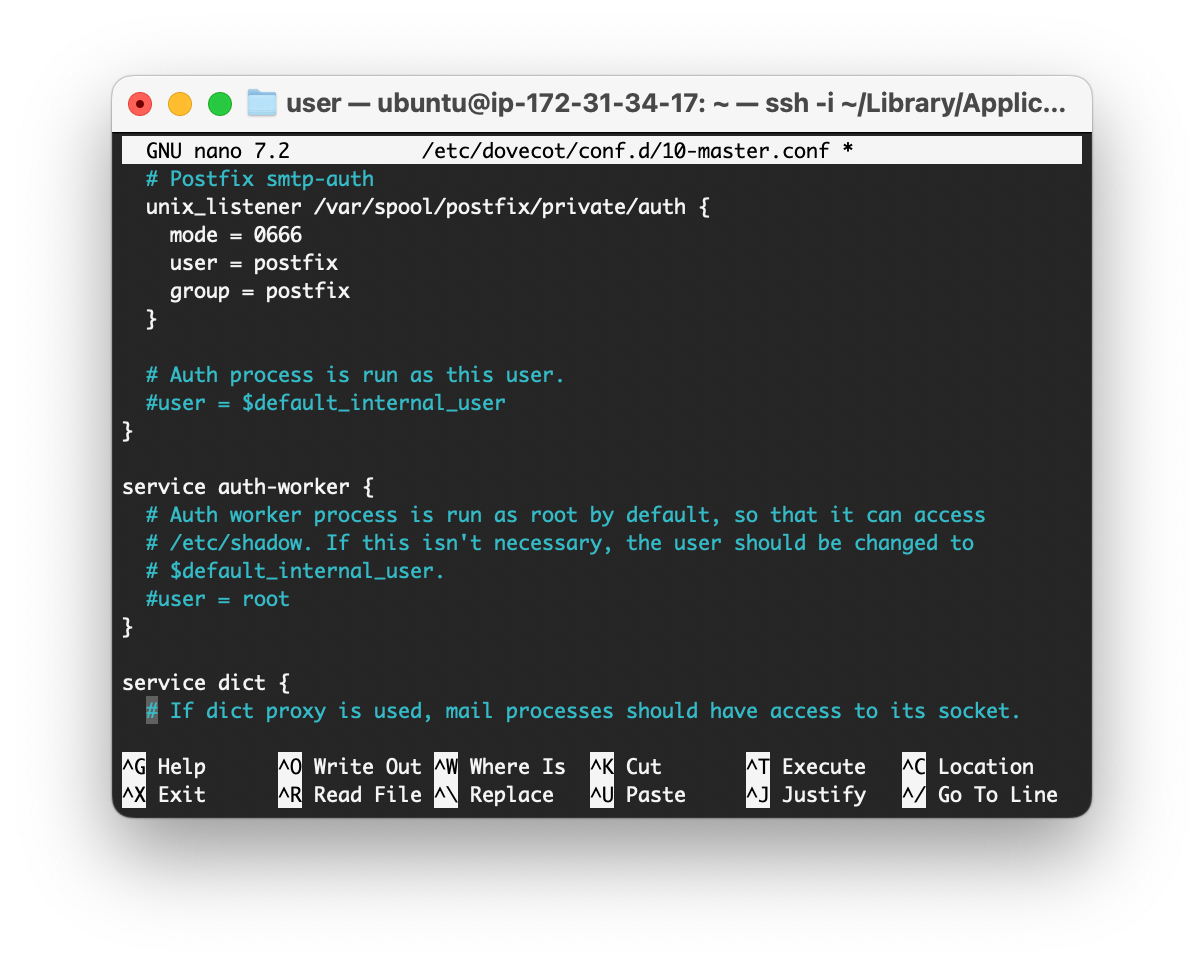
sudo nano /etc/dovecot/conf.d/10-master.conf
sudo nano /etc/dovecot/conf.d/10-mail.conf
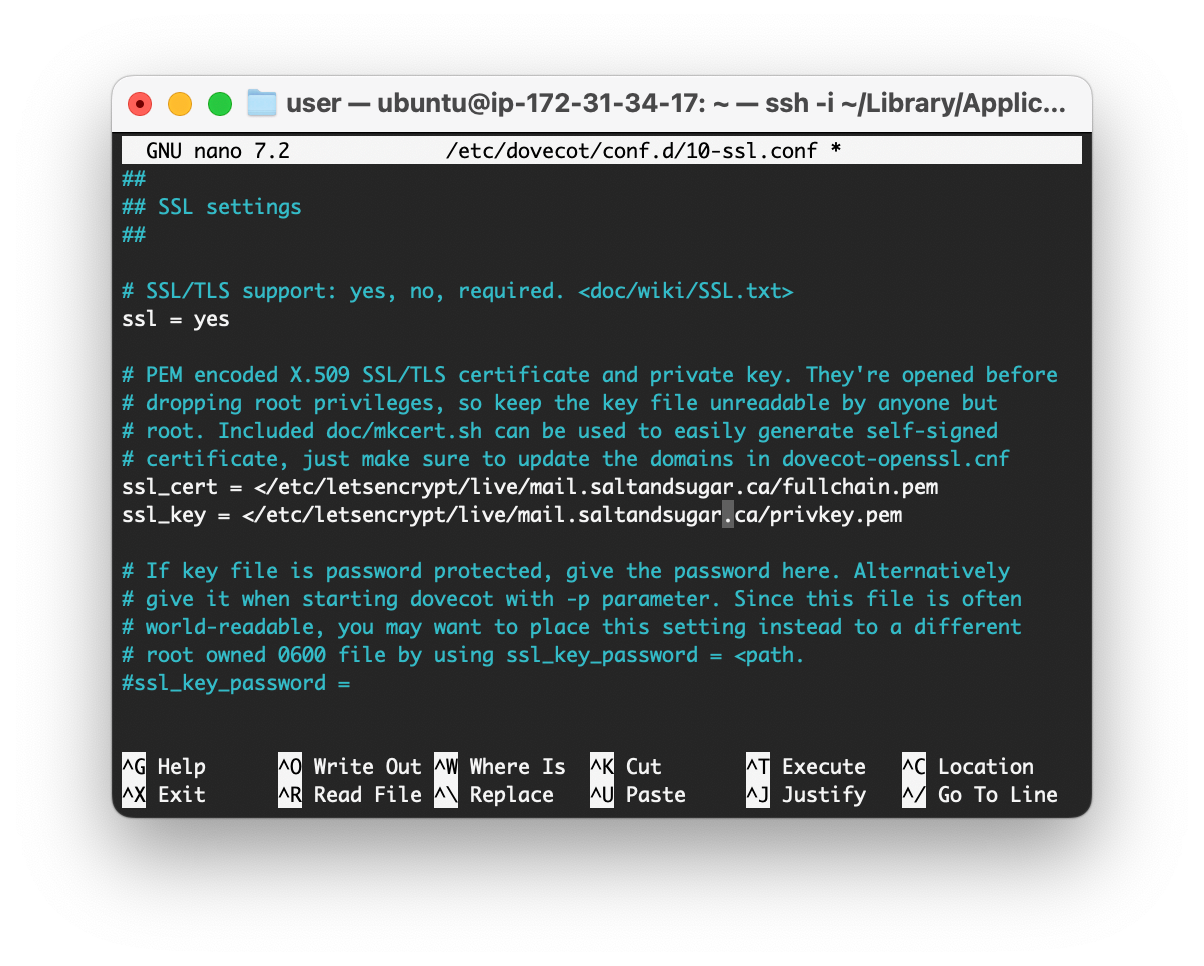
sudo nano /etc/dovecot/conf.d/10-ssl.conf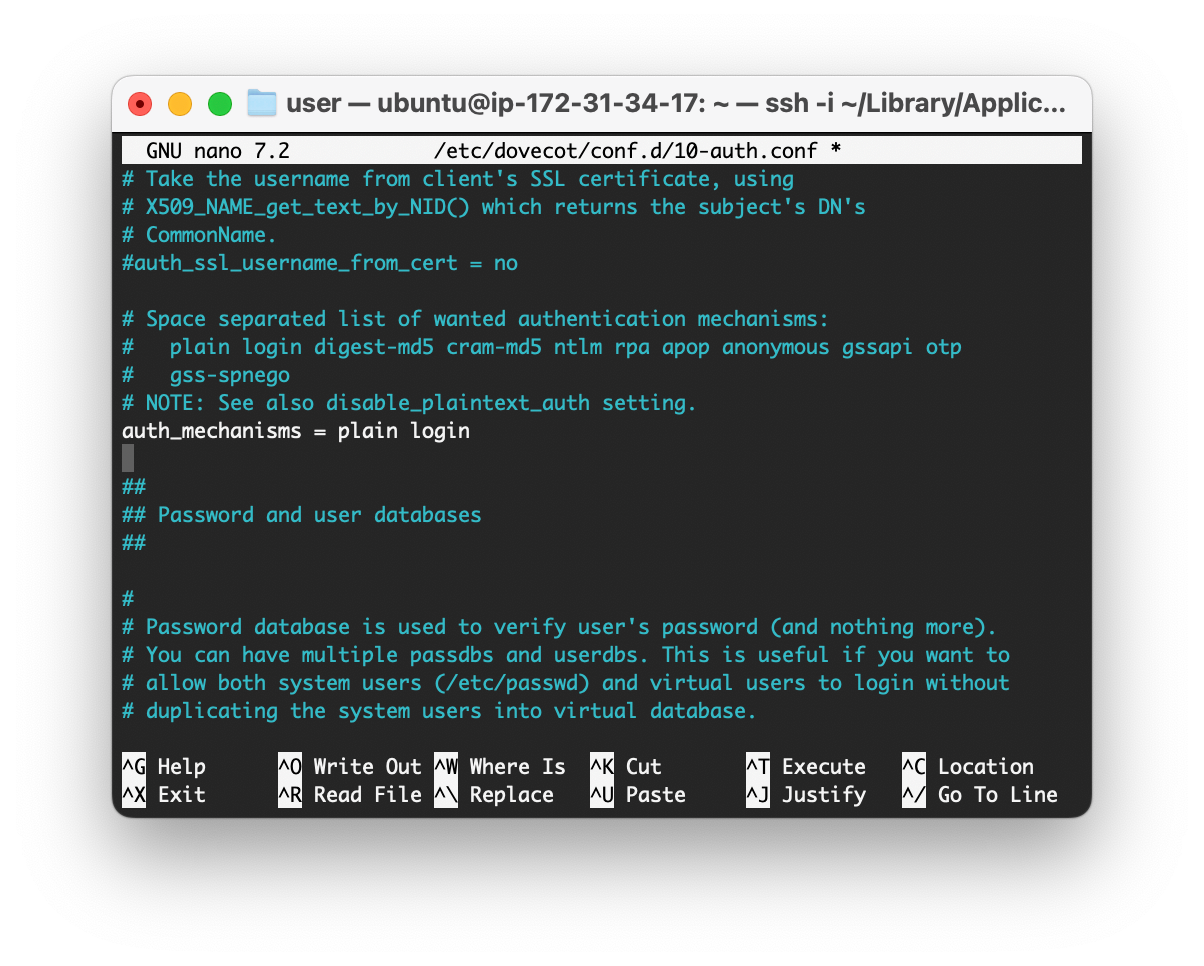
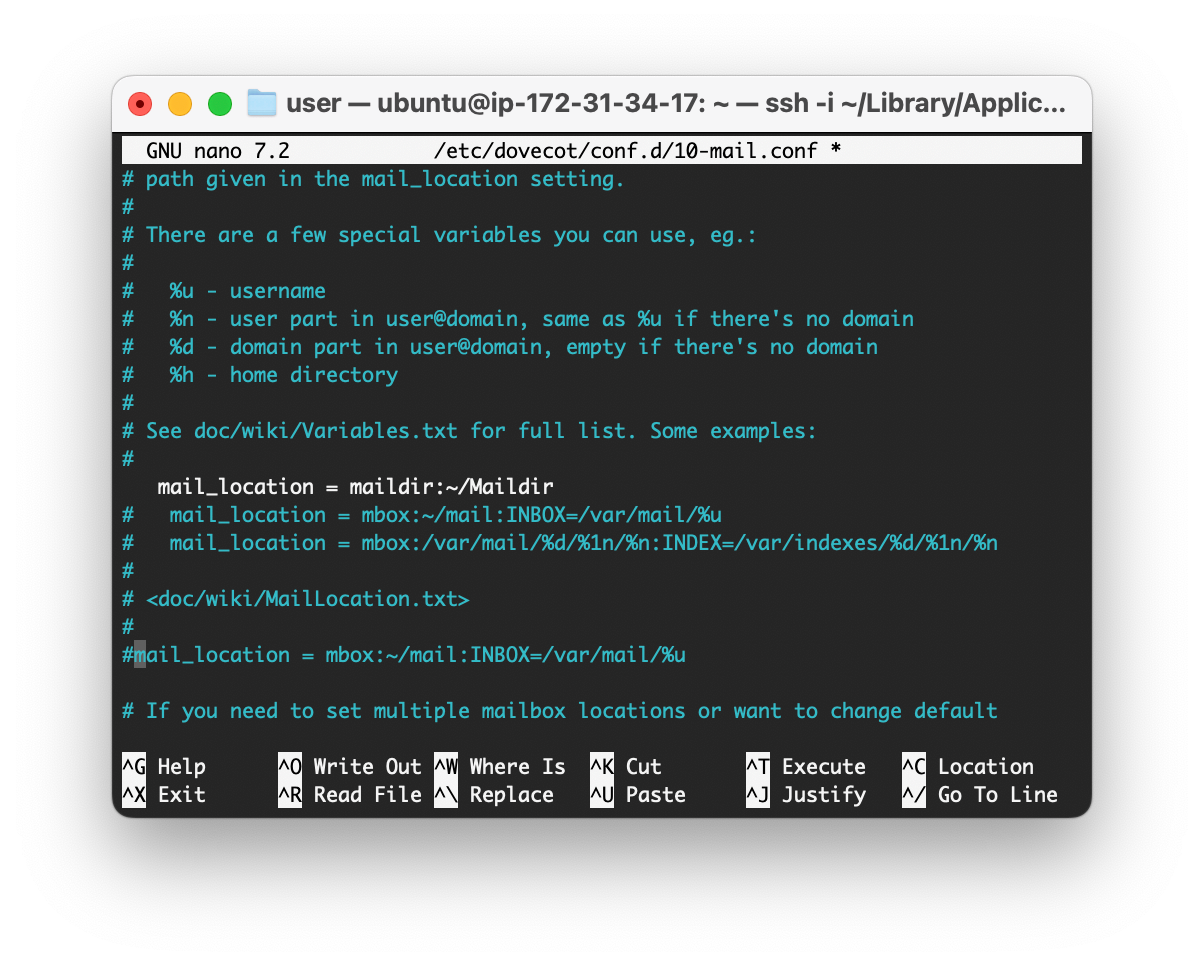
Pay particular attention to the brackets that should be uncommented - that is to not be preceded by the number sign (#).
Remember to use your ssl_cert and ssl_key paths.
Execute the following command to restart the Dovecot and Postfix instances.
sudo systemctl restart dovecot
sudo systemctl restart postfix
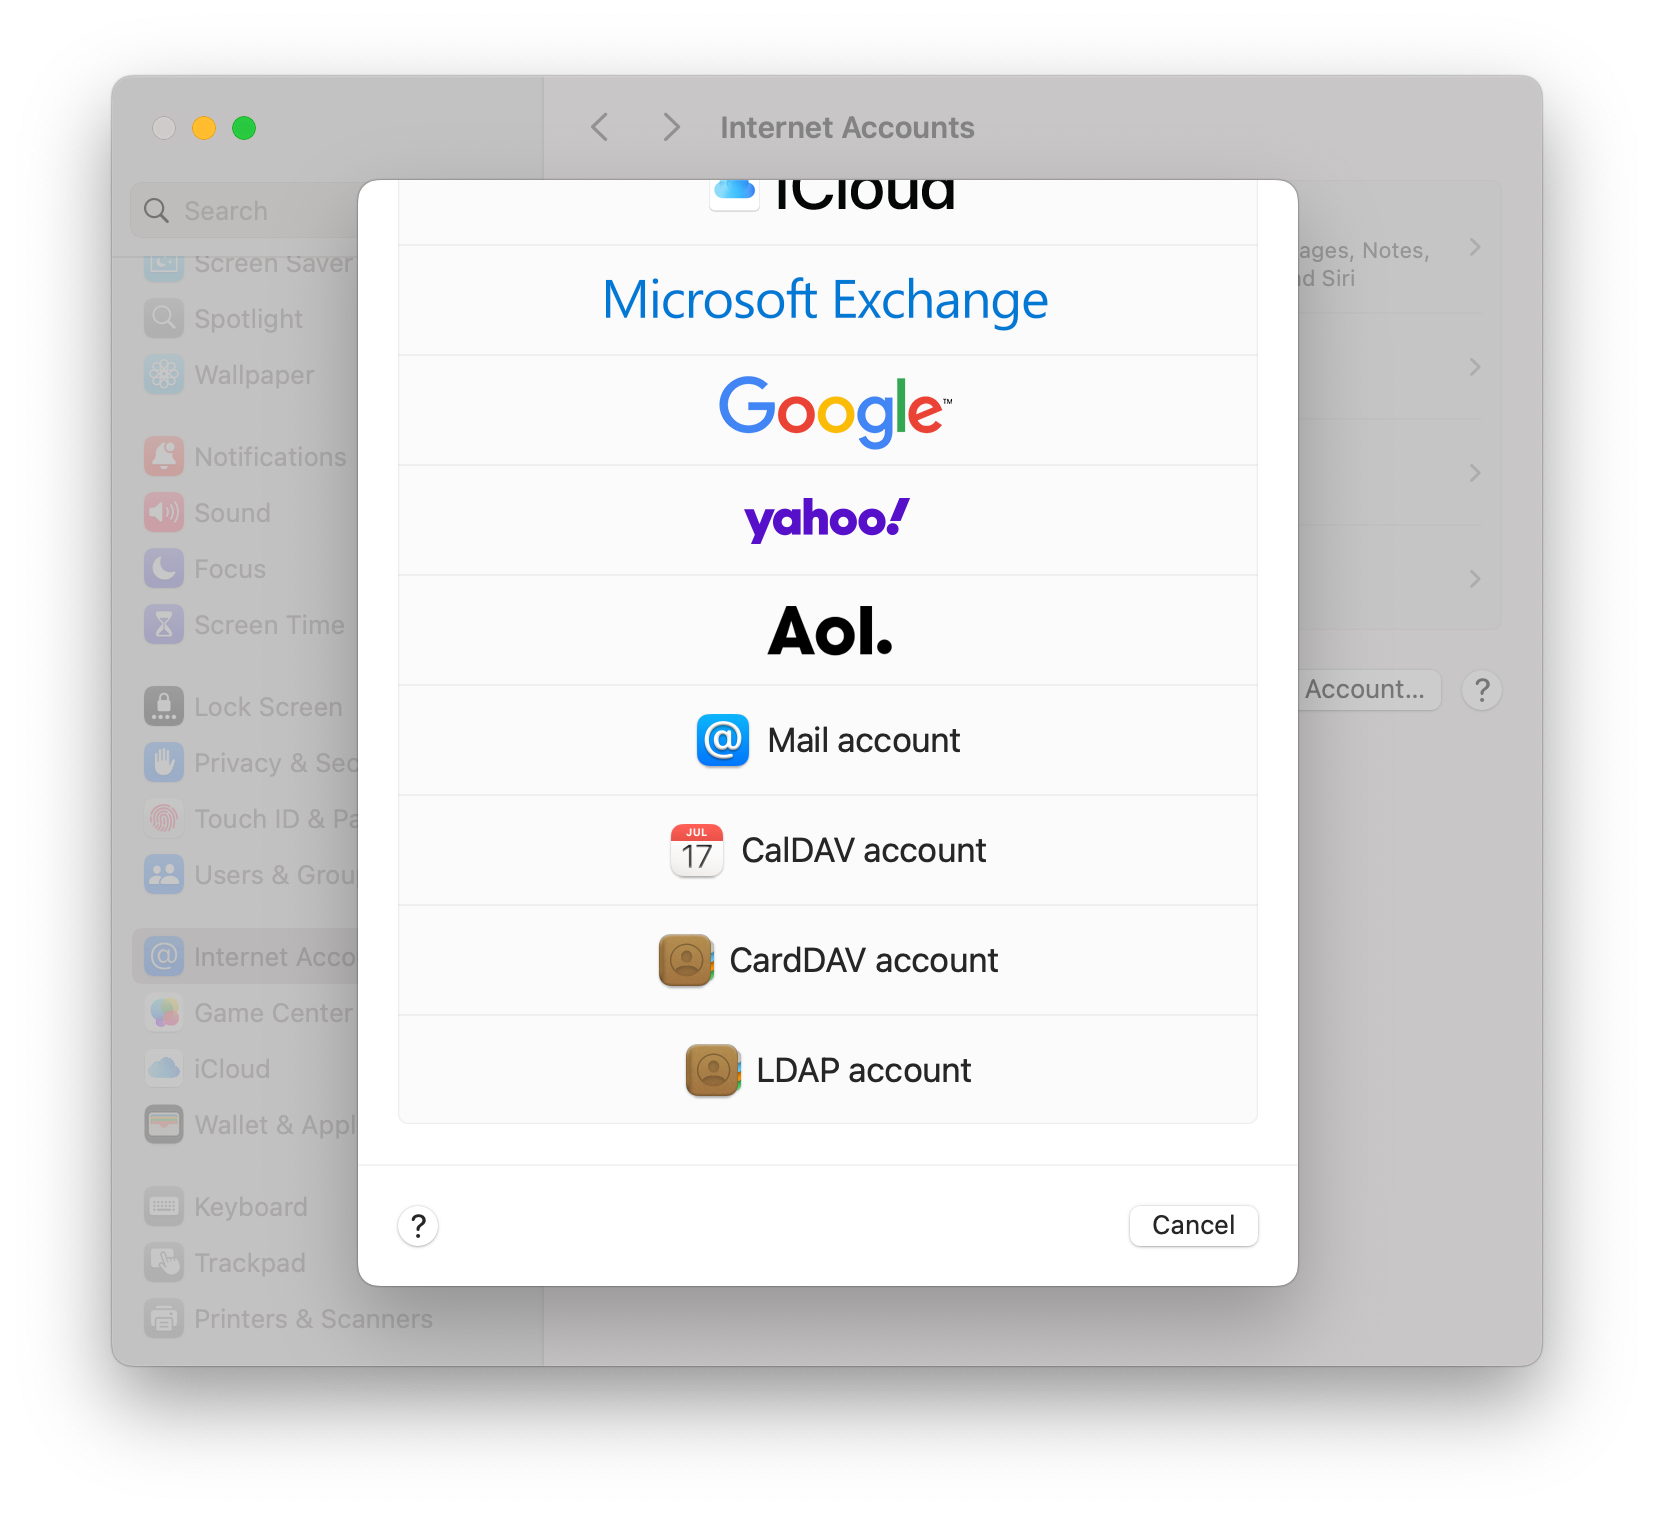
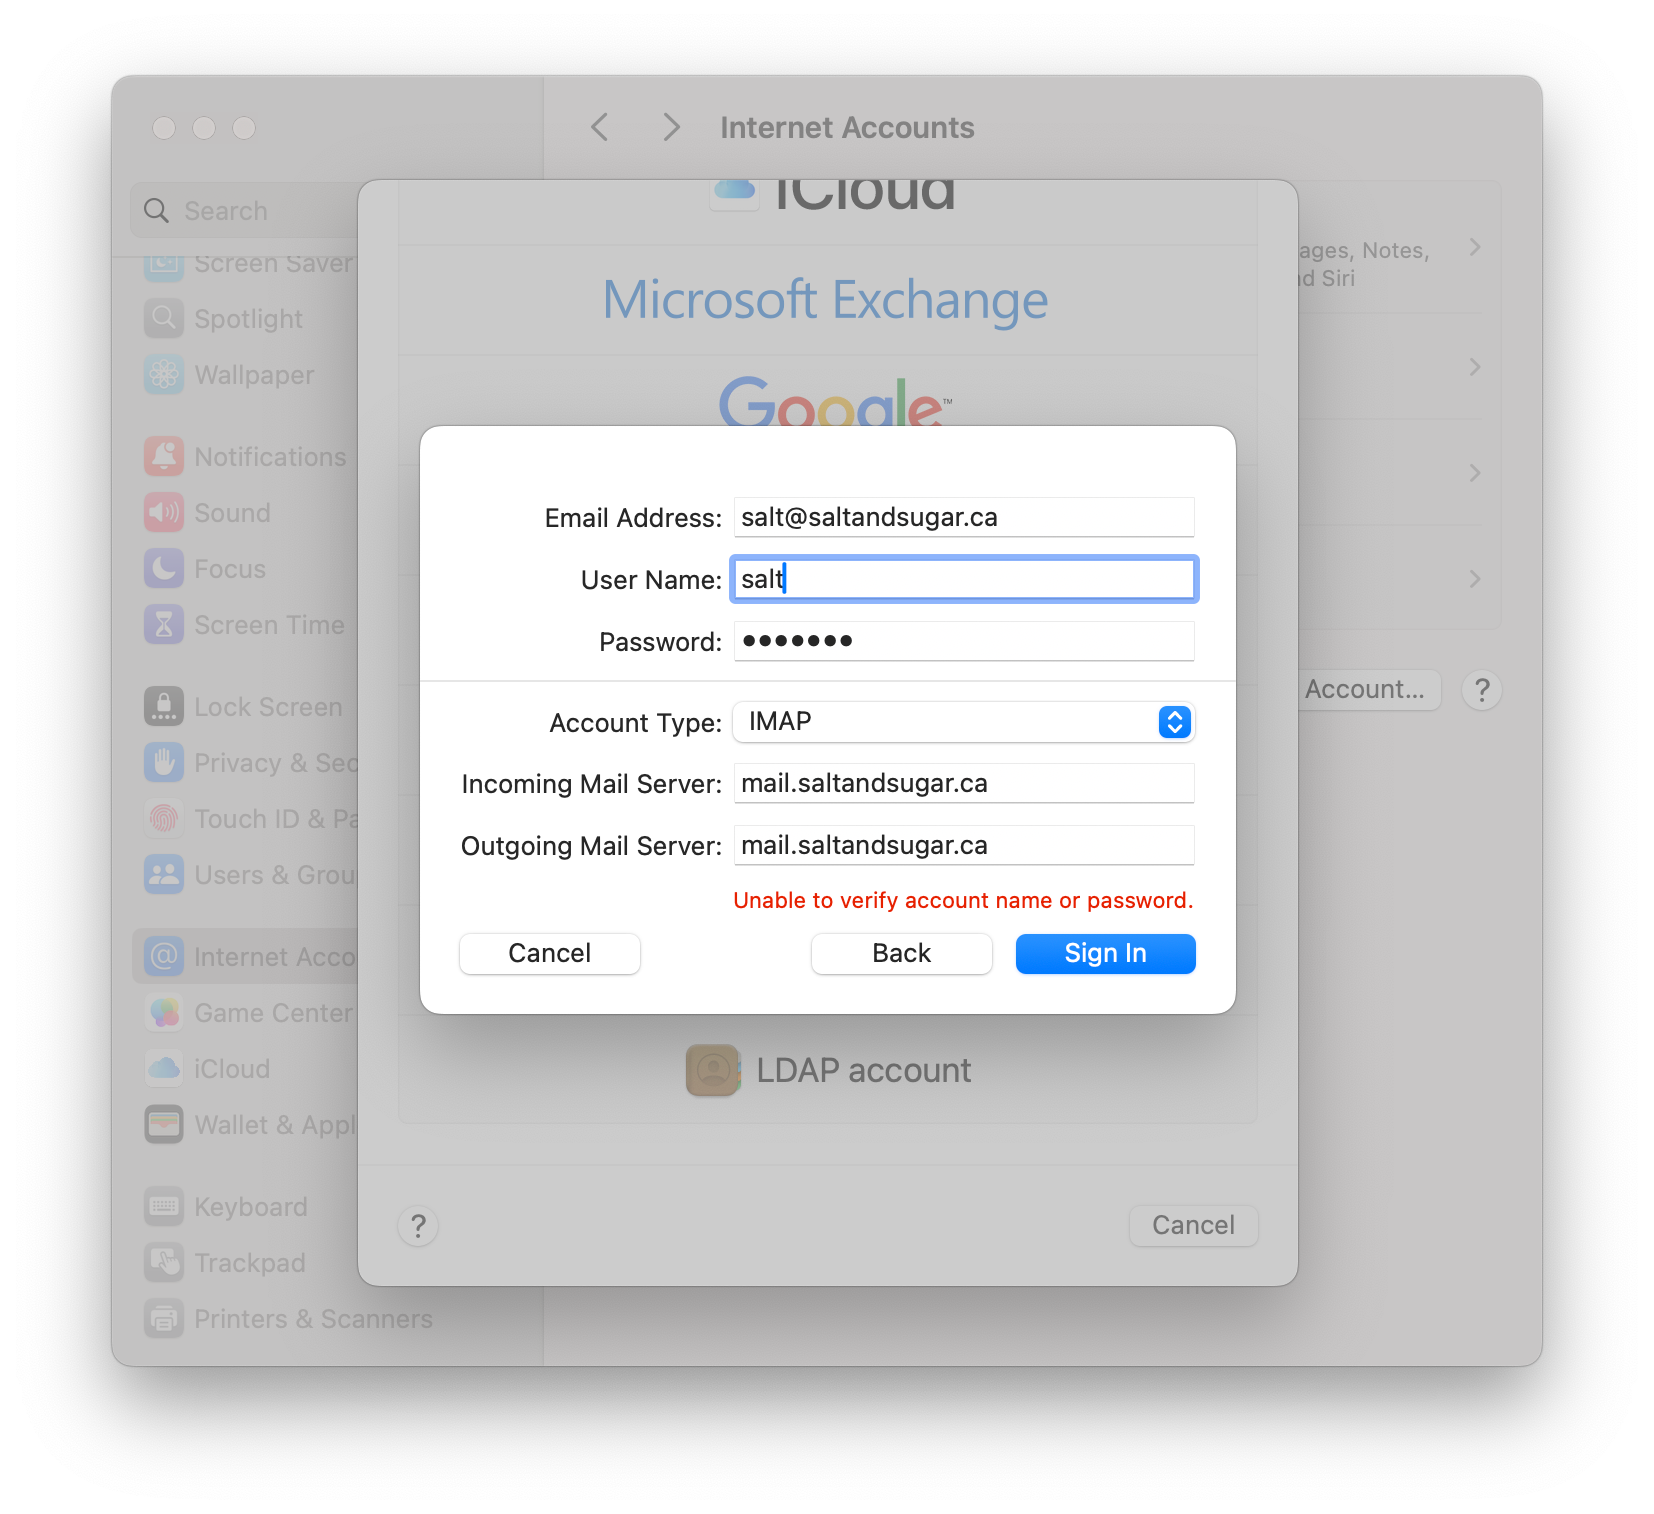
Navigate to System Settings on your Mac and then to Internet Accounts to add a new Mail account.
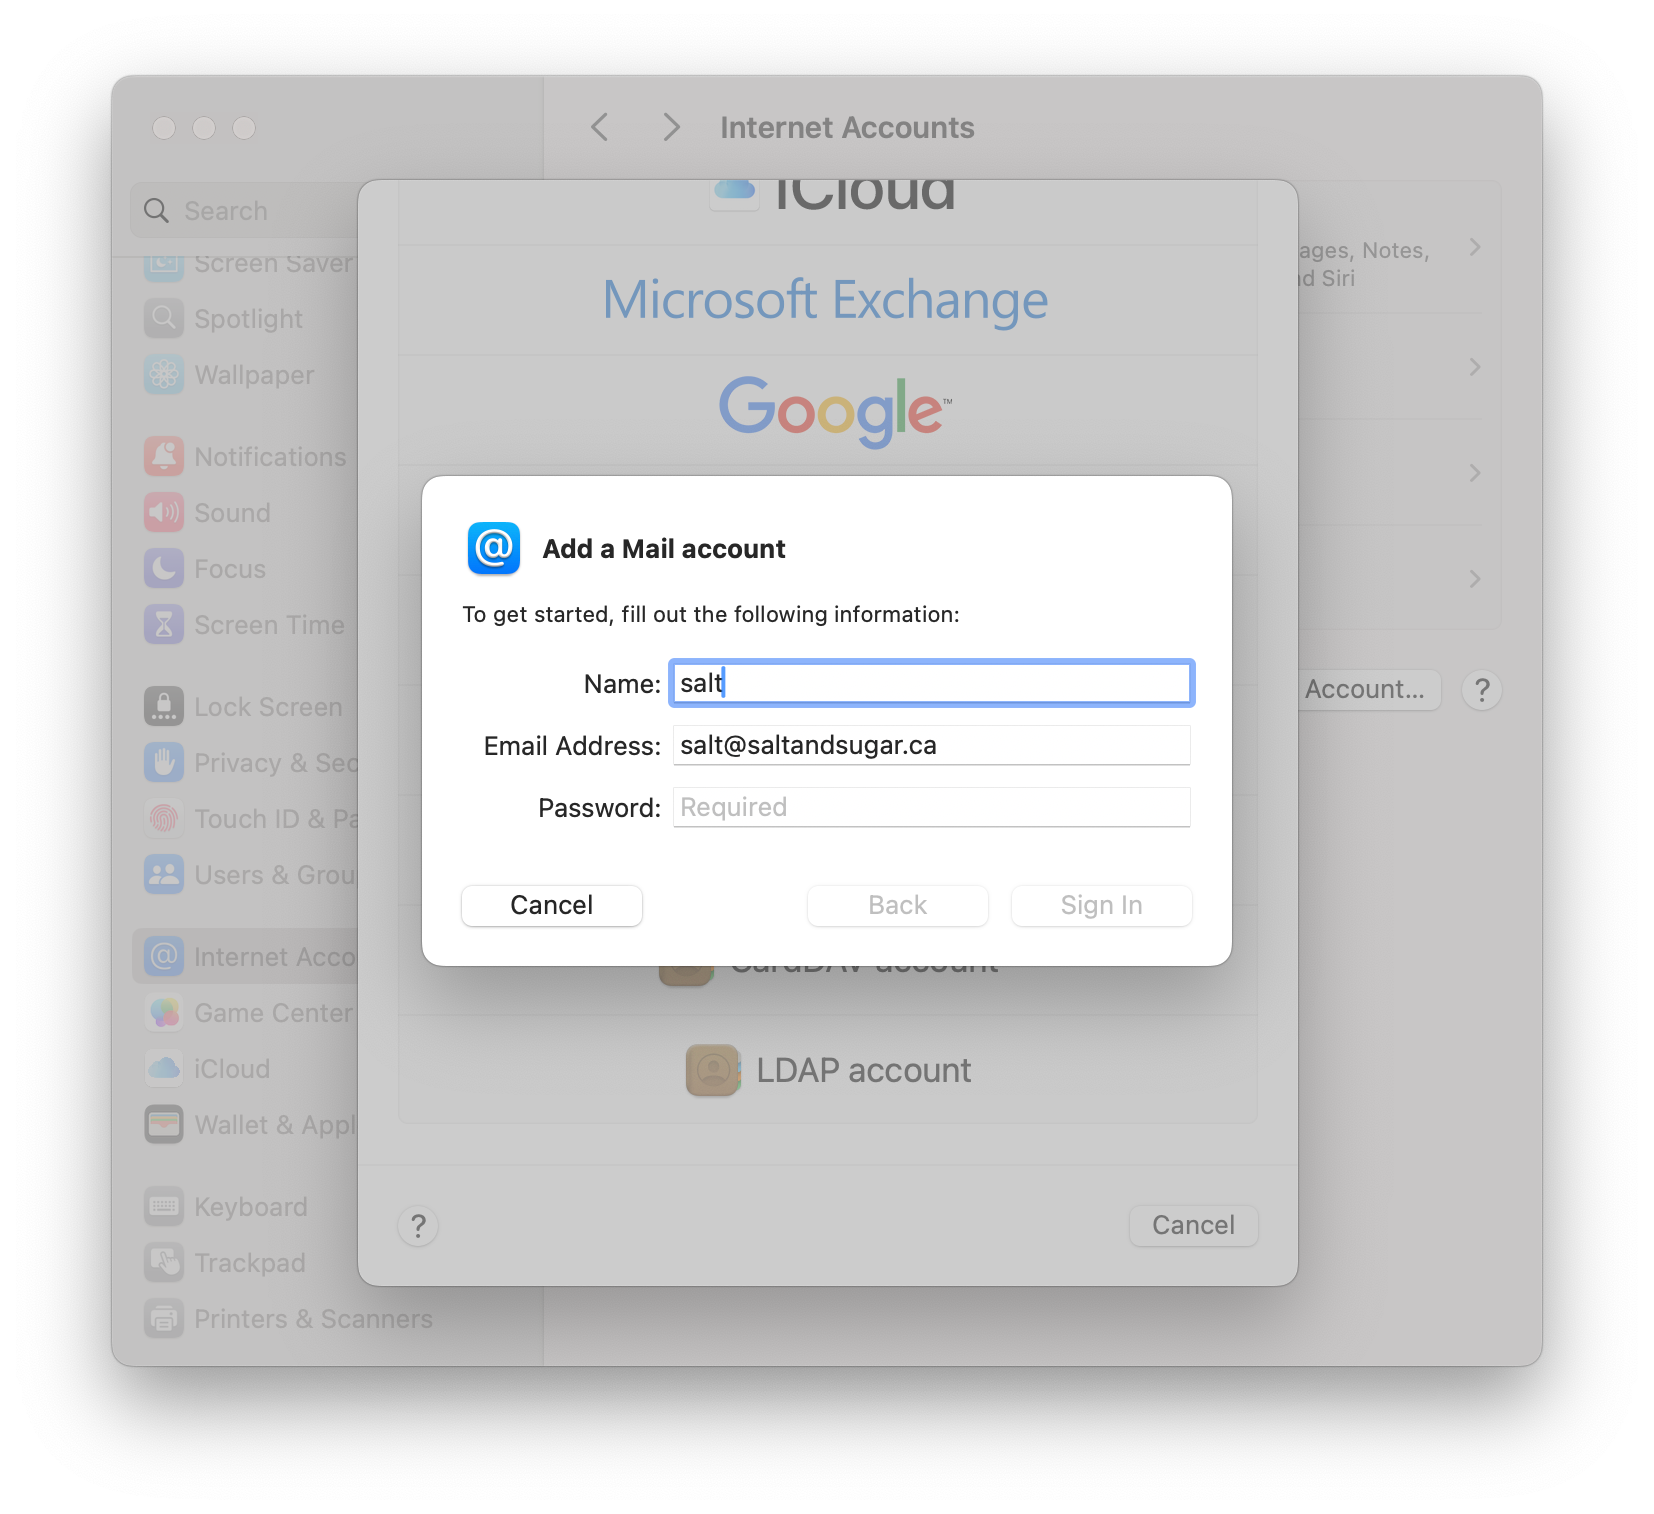
Enter the email address and password that you set up.
You will need to manually enter the user name that you set up, salt, in my example and fill in the incoming and outgoing mail server fields.
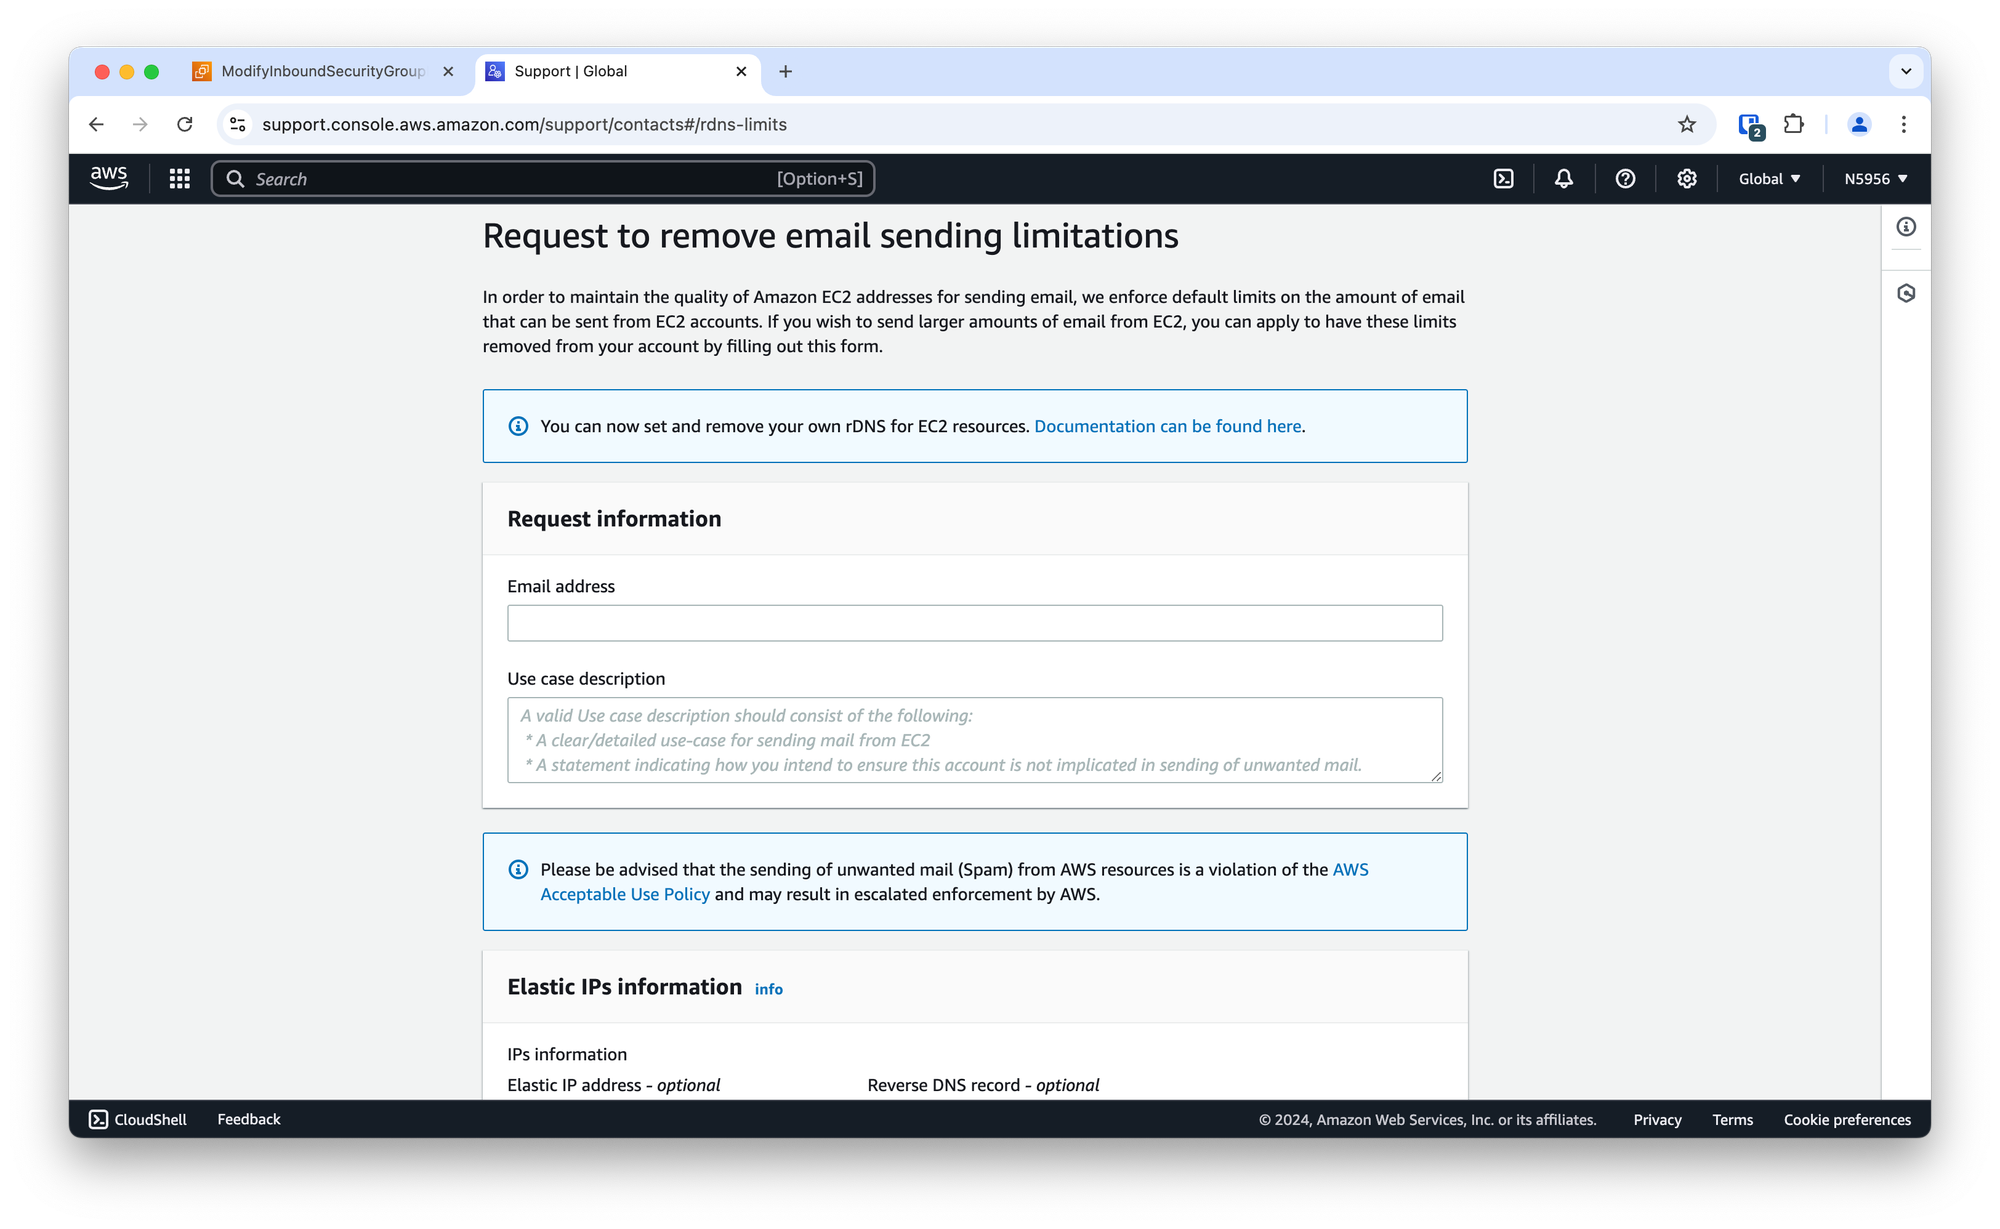
If your AWS account is not permitted to use port 25, you will not be able to send outgoing mail from your mail server. You will need to submit a support ticket at the link here: https://support.console.aws.amazon.com/support/contacts#/rdns-limits. You will need to describe your use case in detail. Make sure to address each point shown in the Use case description text box.
